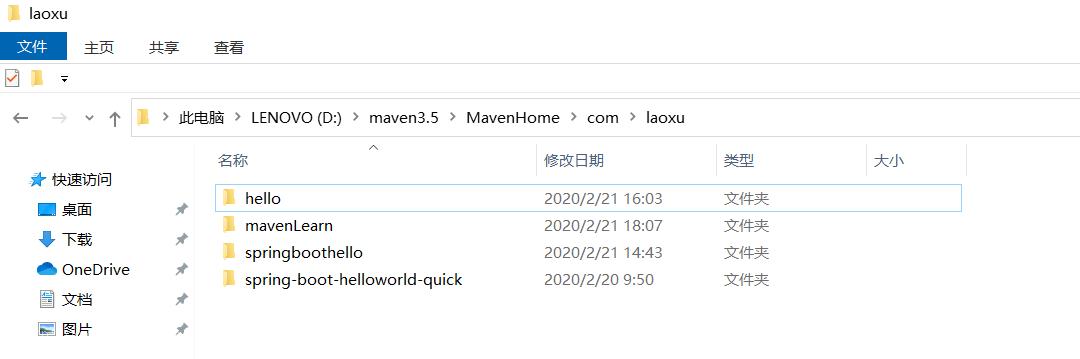
 maven 继承
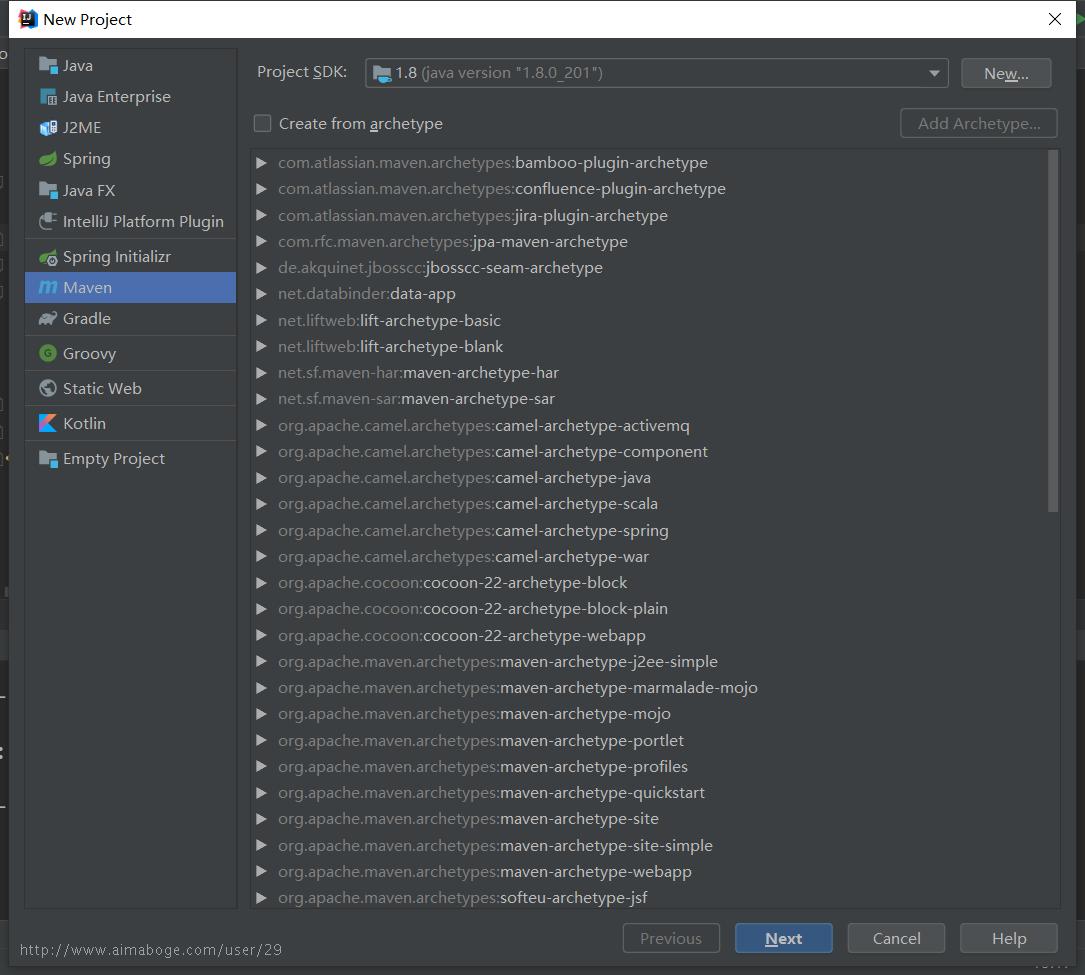
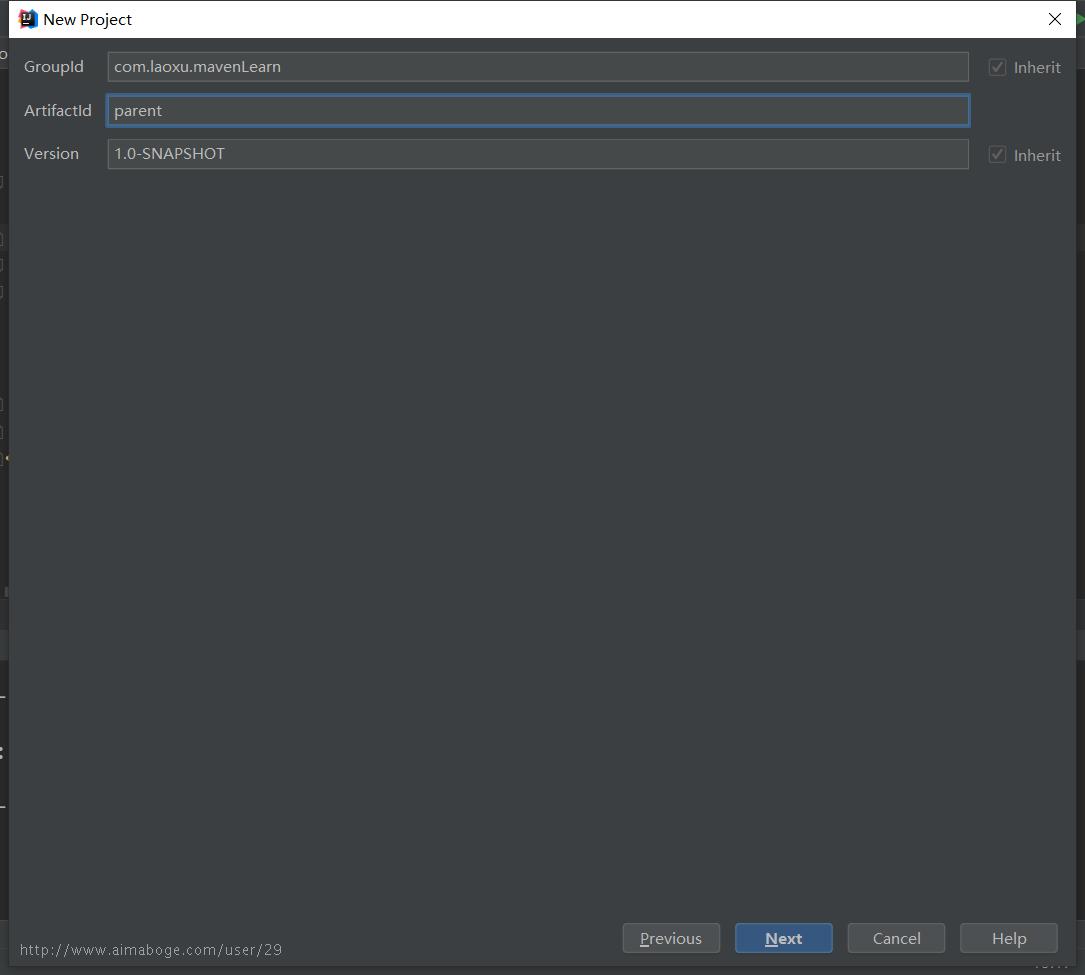
1、创建父工程
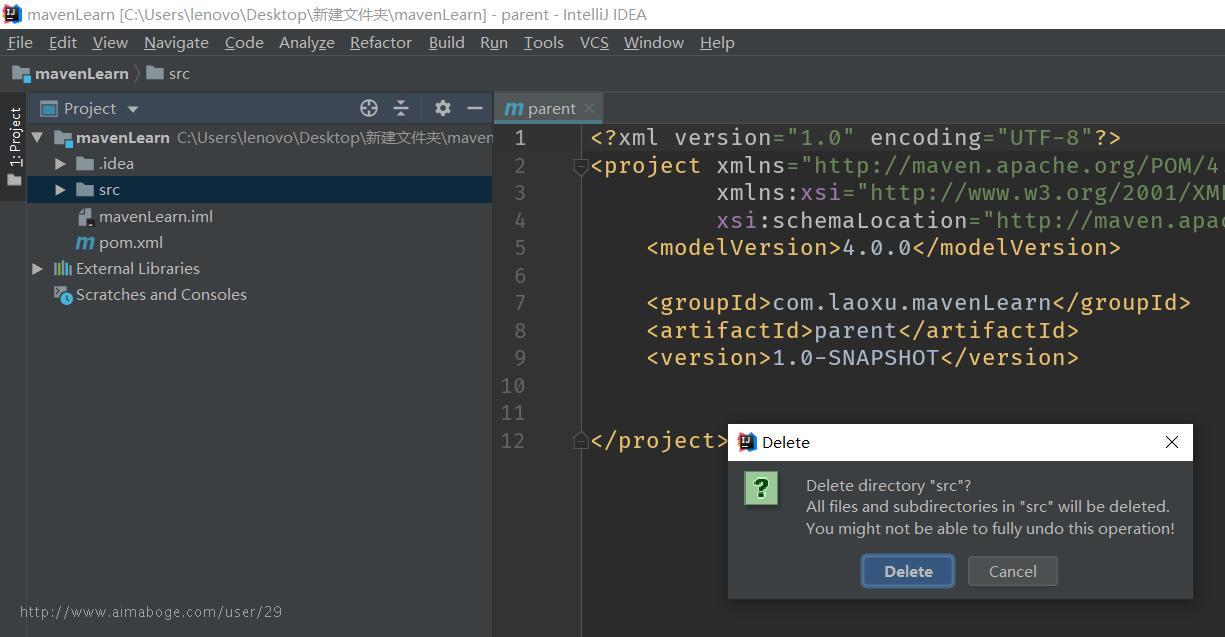
2、删除src目录
3、添加打包方式为pom
<?xml version="1.0" encoding="UTF-8"?>
<project xmlns="http://maven.apache.org/POM/4.0.0"
         xmlns:xsi="http://www.w3.org/2001/XMLSchema-instance"
         xsi:schemaLocation="http://maven.apache.org/POM/4.0.0 http://maven.apache.org/xsd/maven-4.0.0.xsd">
    <modelVersion>4.0.0</modelVersion>

    <groupId>com.laoxu.mavenLearn</groupId>
    <artifactId>parent</artifactId>
    <version>1.0-SNAPSHOT</version>
    <packaging>pom</packaging>

</project>
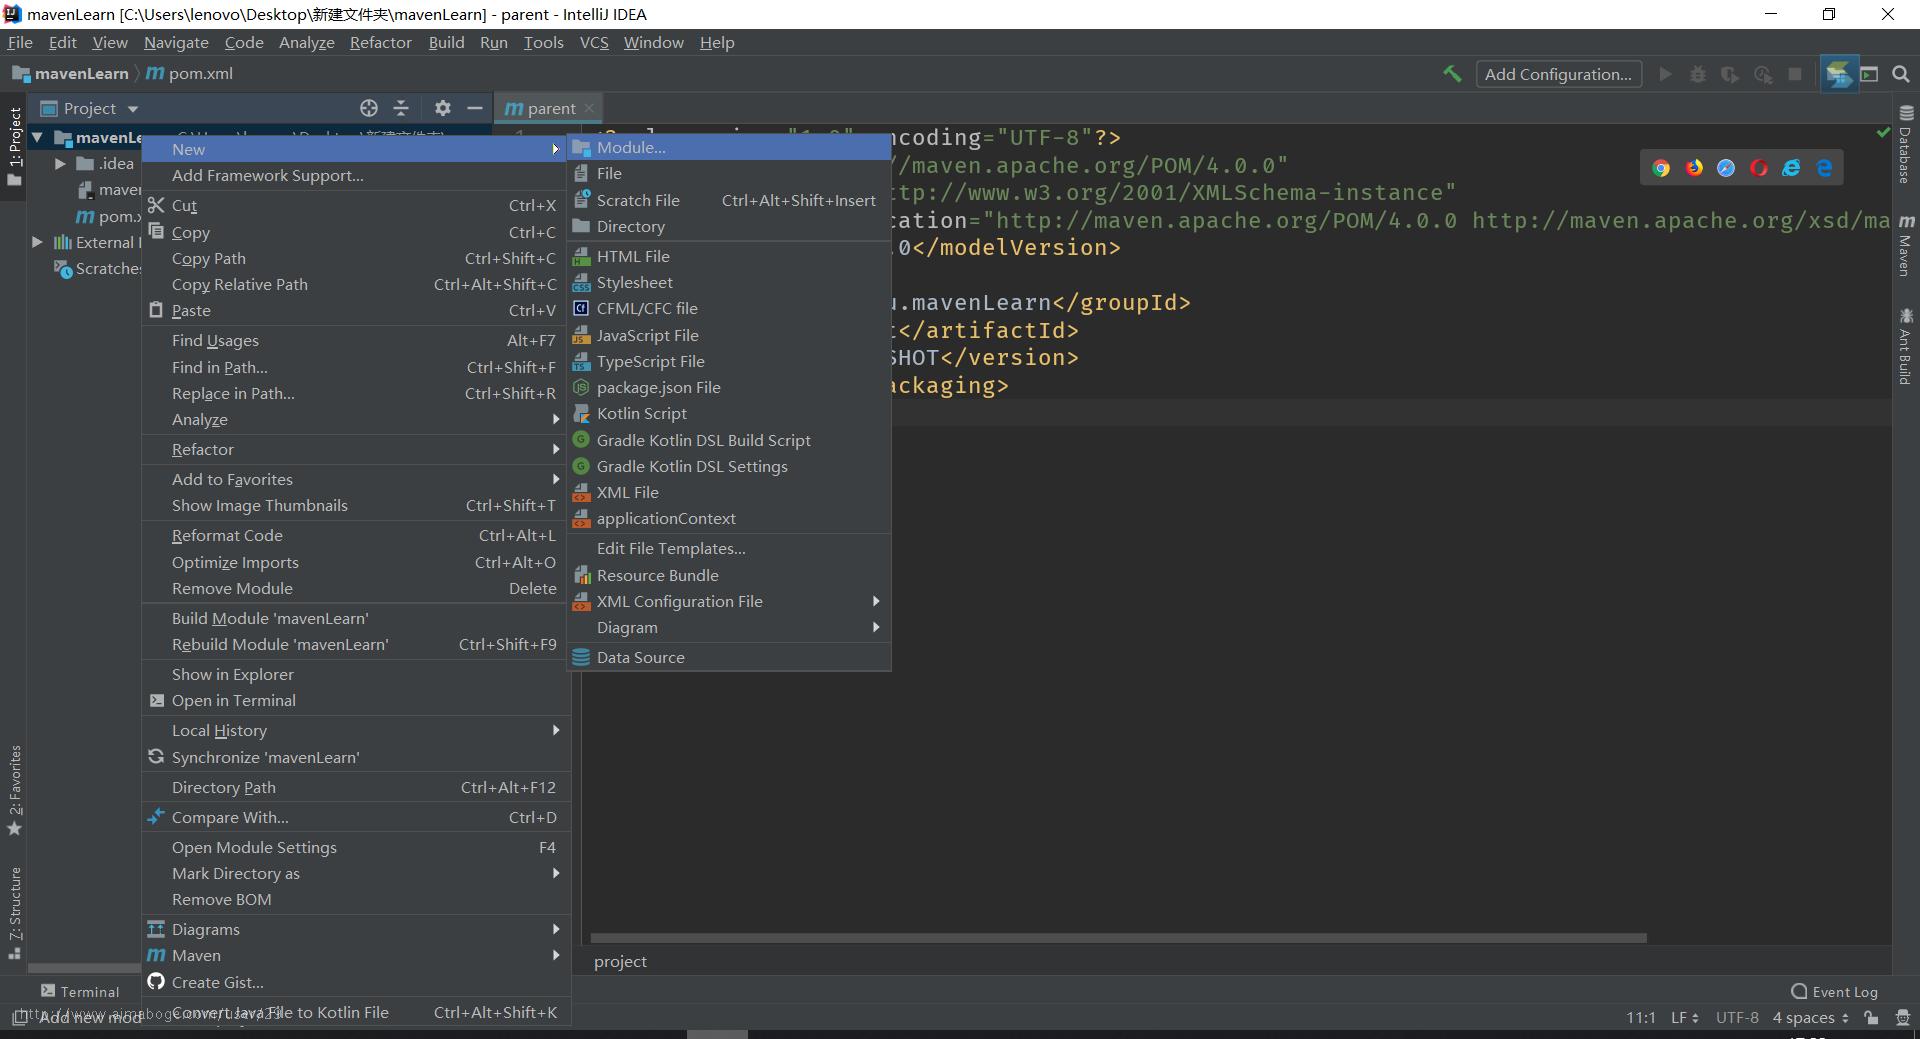
4、创建子工程
- 创建一个api工程

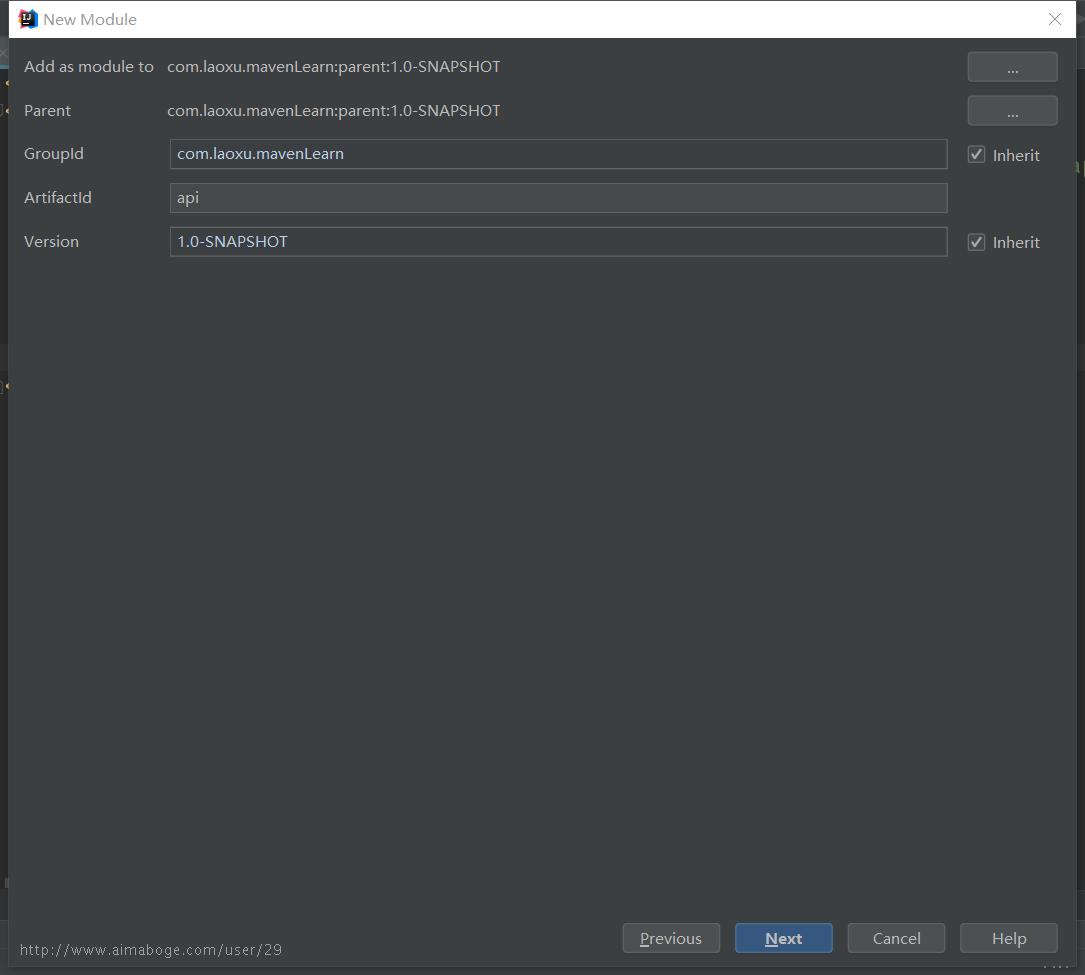
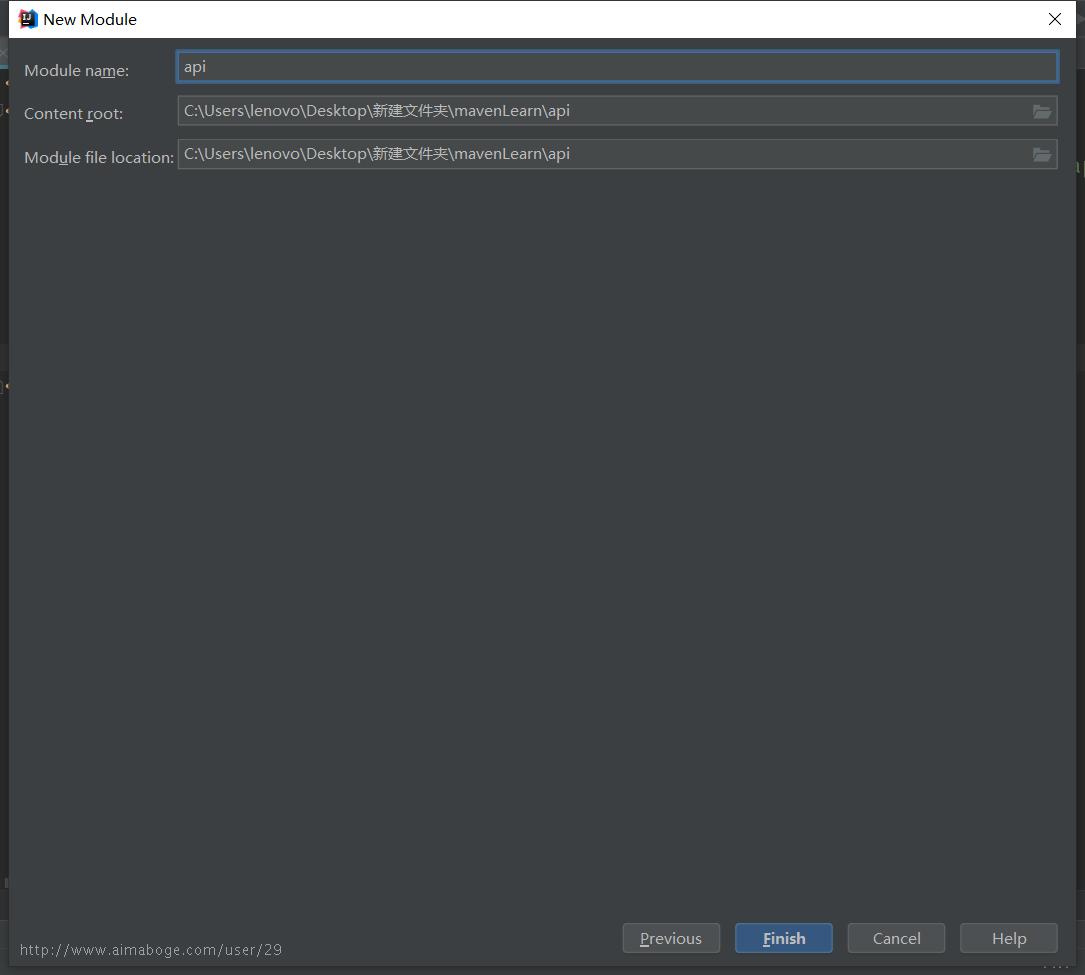
点击Finish完成创建。
可以看到父工程的pom.xml自动发生变化,添加了子工程,<modules>所包含的内容,这就是聚合
<?xml version="1.0" encoding="UTF-8"?>
<project xmlns="http://maven.apache.org/POM/4.0.0"
         xmlns:xsi="http://www.w3.org/2001/XMLSchema-instance"
         xsi:schemaLocation="http://maven.apache.org/POM/4.0.0 http://maven.apache.org/xsd/maven-4.0.0.xsd">
    <modelVersion>4.0.0</modelVersion>

    <groupId>com.laoxu.mavenLearn</groupId>
    <artifactId>parent</artifactId>
    <version>1.0-SNAPSHOT</version>
    <modules>
        <module>api</module>
    </modules>
    <packaging>pom</packaging>

</project>
而子工程api自动添加父工程的声明<parent>标签所包含的内容
<?xml version="1.0" encoding="UTF-8"?>
<project xmlns="http://maven.apache.org/POM/4.0.0"
         xmlns:xsi="http://www.w3.org/2001/XMLSchema-instance"
         xsi:schemaLocation="http://maven.apache.org/POM/4.0.0 http://maven.apache.org/xsd/maven-4.0.0.xsd">
    <parent>
        <artifactId>parent</artifactId>
        <groupId>com.laoxu.mavenLearn</groupId>
        <version>1.0-SNAPSHOT</version>
    </parent>
    <modelVersion>4.0.0</modelVersion>

    <artifactId>api</artifactId>


</project>
可以手动加上relativePath标签指定父工程的pom所在位置
<?xml version="1.0" encoding="UTF-8"?>
<project xmlns="http://maven.apache.org/POM/4.0.0"
         xmlns:xsi="http://www.w3.org/2001/XMLSchema-instance"
         xsi:schemaLocation="http://maven.apache.org/POM/4.0.0 http://maven.apache.org/xsd/maven-4.0.0.xsd">
    <parent>
        <artifactId>parent</artifactId>
        <groupId>com.laoxu.mavenLearn</groupId>
        <version>1.0-SNAPSHOT</version>
        <!-- 以当前子工程pom.xml文件为基础,去找父工程的pom.xml文件 -->
        <relativePath>../pom.xml</relativePath>
    </parent>
    <modelVersion>4.0.0</modelVersion>

    <artifactId>api</artifactId>


</project>
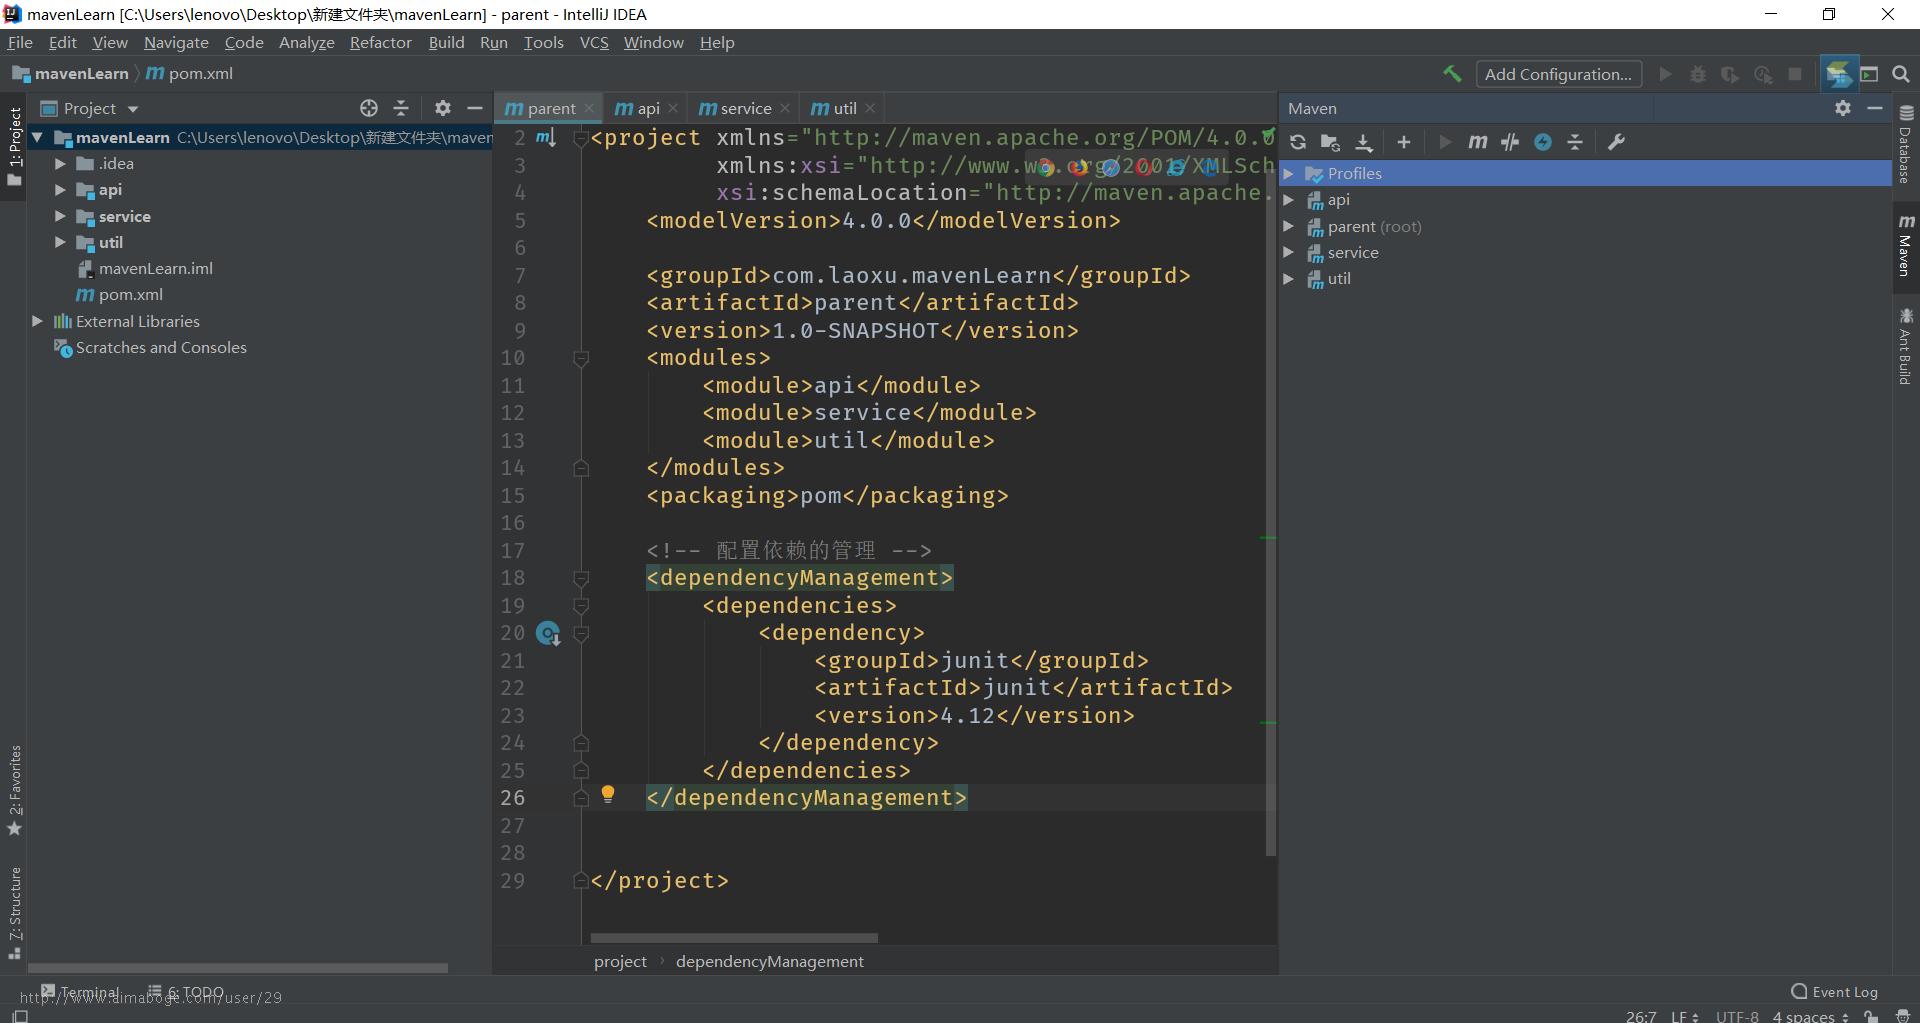
5、父工程配置统一的管理
<?xml version="1.0" encoding="UTF-8"?>
<project xmlns="http://maven.apache.org/POM/4.0.0"
         xmlns:xsi="http://www.w3.org/2001/XMLSchema-instance"
         xsi:schemaLocation="http://maven.apache.org/POM/4.0.0 http://maven.apache.org/xsd/maven-4.0.0.xsd">
    <modelVersion>4.0.0</modelVersion>

    <groupId>com.laoxu.mavenLearn</groupId>
    <artifactId>parent</artifactId>
    <version>1.0-SNAPSHOT</version>
    <modules>
        <module>api</module>
    </modules>
    <packaging>pom</packaging>

    <!-- 配置依赖的管理 -->
    <dependencyManagement>
        <dependencies>
            <dependency>
                <groupId>junit</groupId>
                <artifactId>junit</artifactId>
                <version>4.12</version>
            </dependency>
        </dependencies>
    </dependencyManagement>


</project>
可以看到父工程的junit为4.12版本
- 在子工程中添加依赖
<?xml version="1.0" encoding="UTF-8"?>
<project xmlns="http://maven.apache.org/POM/4.0.0"
         xmlns:xsi="http://www.w3.org/2001/XMLSchema-instance"
         xsi:schemaLocation="http://maven.apache.org/POM/4.0.0 http://maven.apache.org/xsd/maven-4.0.0.xsd">
    <parent>
        <artifactId>parent</artifactId>
        <groupId>com.laoxu.mavenLearn</groupId>
        <version>1.0-SNAPSHOT</version>
        <!-- 以当前子工程pom.xml文件为基础,去找父工程的pom.xml文件 -->
        <relativePath>../pom.xml</relativePath>
    </parent>
    <modelVersion>4.0.0</modelVersion>

    <artifactId>api</artifactId>

    <dependencies>
        <dependency>
            <groupId>junit</groupId>
            <artifactId>junit</artifactId>
        </dependency>
    </dependencies>

</project>
若不指定版本,那么就继承父工程的junit,同样为4.12版本,若指定版本,则覆盖父工程的junit,使用覆盖的版本
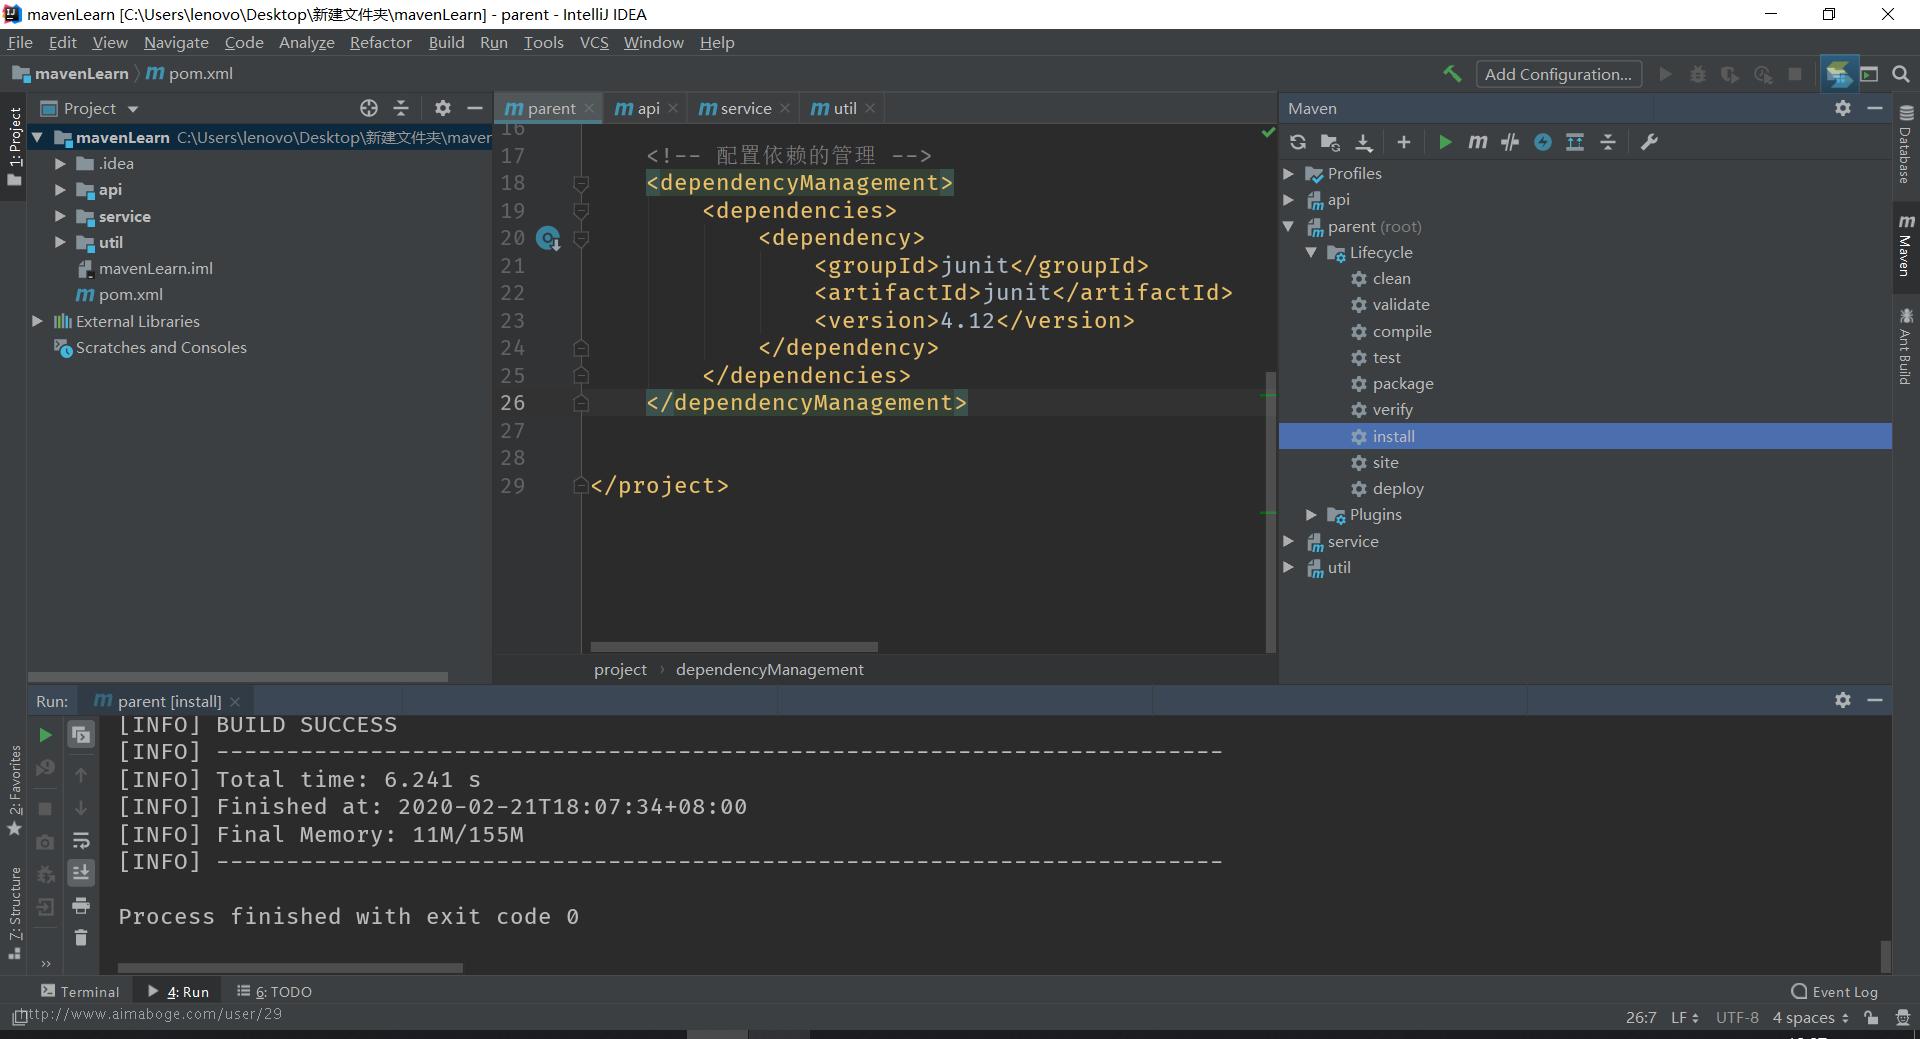
注意:配置继承后,执行安装命令,必须先按照父工程,否则报依赖不存在
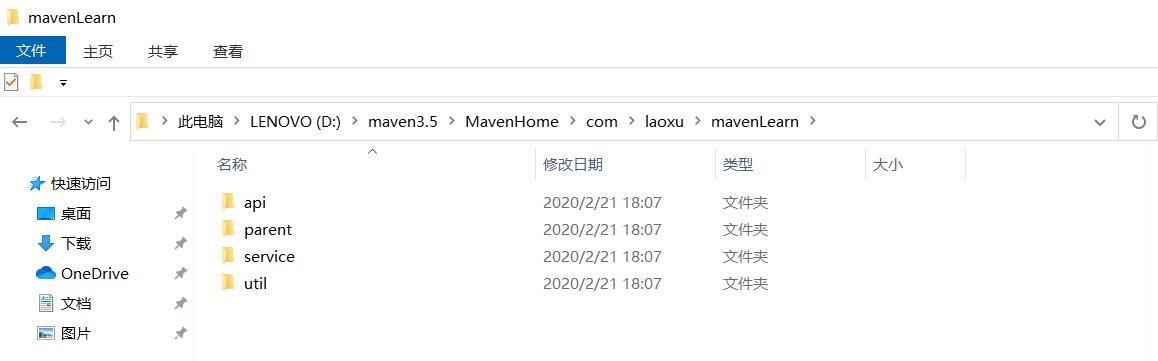
6、测试聚合(父工程安装后,子工程一并安装,无须一个个安装)
创建多个子工程
- 未安装前,本地仓库

- 对父工程进行安装
- 查看本地仓库
- 产生了mavenLearn
- 查看mavenLearn
- 可以看到子工程都已经安装
 恭喜注册成功,快来登录吧!