 jenkins 编译、打包(war包方式)、部署springboot项目
各软件安装和配置环境变量部分省略
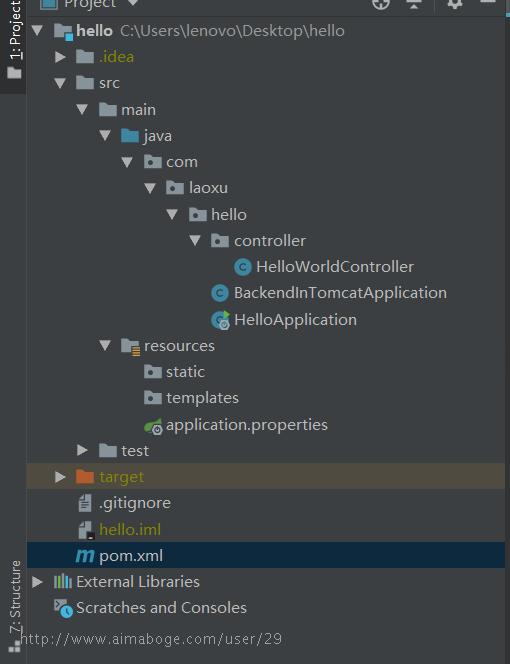
一、准备springboot项目
项目结构(这里演示简单的helloword项目)
1、因为是war包方式,需要将springboot自带的tomcat排除
pom.xml中修改:
<dependency>
    <groupId>org.springframework.boot</groupId>
    <artifactId>spring-boot-starter-web</artifactId>
    <!--忽略内嵌tomcat,打包部署到tomcat。注*本地运行的时候要把这一段忽略引入个注释掉,要不然项目启动不了-->
    <exclusions>
        <exclusion>
            <groupId>org.springframework.boot</groupId>
            <artifactId>spring-boot-starter-tomcat</artifactId>
        </exclusion>
    </exclusions>
</dependency>
并且需要导入servlet依赖
<dependency>
    <groupId>javax.servlet</groupId>
    <artifactId>javax.servlet-api</artifactId>
    <version>3.1.0</version>
</dependency>
默认为jar包方式
要指定war包
<packaging>war</packaging>
2、须修改启动配置
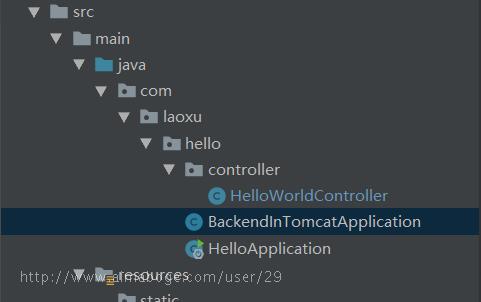
在项目启动类同路径下创建启动配置类
package com.laoxu.hello;

import org.springframework.boot.builder.SpringApplicationBuilder;
import org.springframework.boot.web.servlet.support.SpringBootServletInitializer;

/**
 * @author wang.hz
 * @Date 2018/7/4
 * <p>解决springboot打成war包,部署tomcat后访问404问题</p>
 */
public class BackendInTomcatApplication extends SpringBootServletInitializer {

    @Override
    protected SpringApplicationBuilder configure(SpringApplicationBuilder application) {
        return application.sources(HelloApplication.class);
    }

}
3、demo演示功能:输出:hello world
package com.laoxu.hello.controller;


import org.springframework.web.bind.annotation.RequestMapping;
import org.springframework.web.bind.annotation.RestController;

@RestController
public class HelloWorldController {
    @RequestMapping("/hello")
    public String hello(){
        return "Hello world";
    }
}
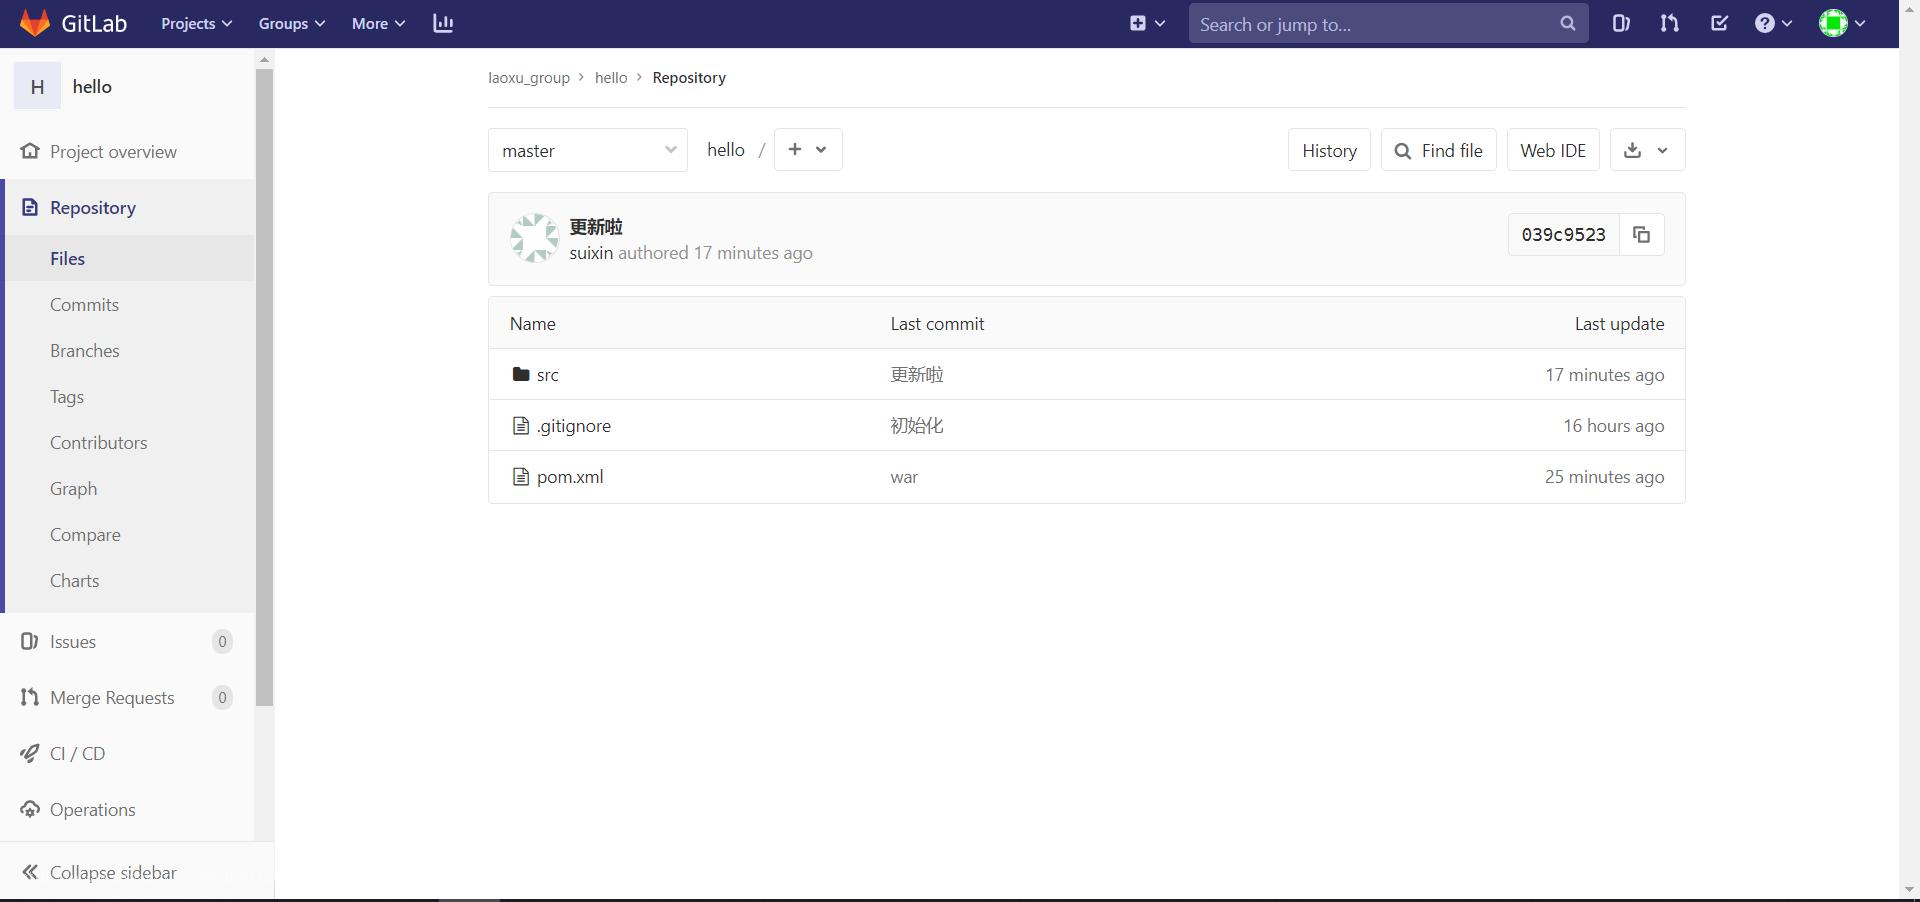
二、上传代码到gitlab
三、配置tomcat
- 添加管理账户
tomcat下的conf目录下有个tomcat-users.xml

在</tomcat-users>上面添加账户
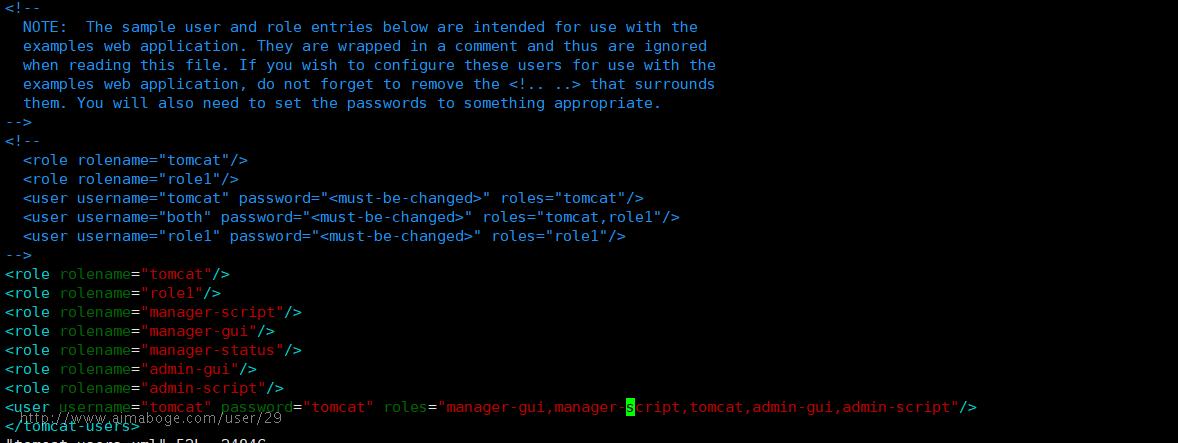
<role rolename="tomcat"/>
<role rolename="role1"/>
<role rolename="manager-script"/>
<role rolename="manager-gui"/>
<role rolename="manager-status"/>
<role rolename="admin-gui"/>
<role rolename="admin-script"/>
<user username="tomcat" password="tomcat" roles="manager-gui,manager-script,tomcat,admin-gui,admin-script"/>
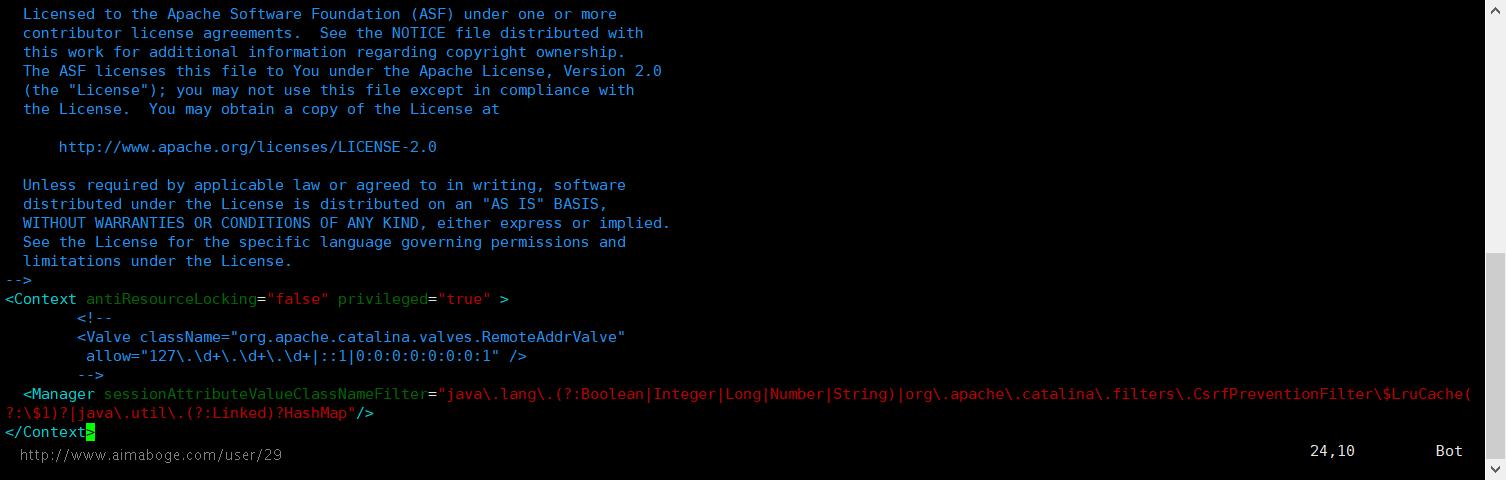
- 注释掉外网ip权限限制 (不注释掉外网会提示权限拒绝)

注释掉value标签
- 重启服务器
root@1bd9581fa1d5:/usr/local/apache-tomcat-9.0.22/bin# ./shutdown.sh
root@1bd9581fa1d5:/usr/local/apache-tomcat-9.0.22/bin# ./startup.sh
- 测试
访问:http://fwq.geekrabbit.xyz:3046/manager/html
要求登录:账户是上面配置的账户(tomcat),密码也是上面配置的密码(tomcat)
登录后显示tomcat管理页面,则配置成功。
四、配置jenkins构建部署
前提:jenkins服务器中必须有:git、maven、jdk
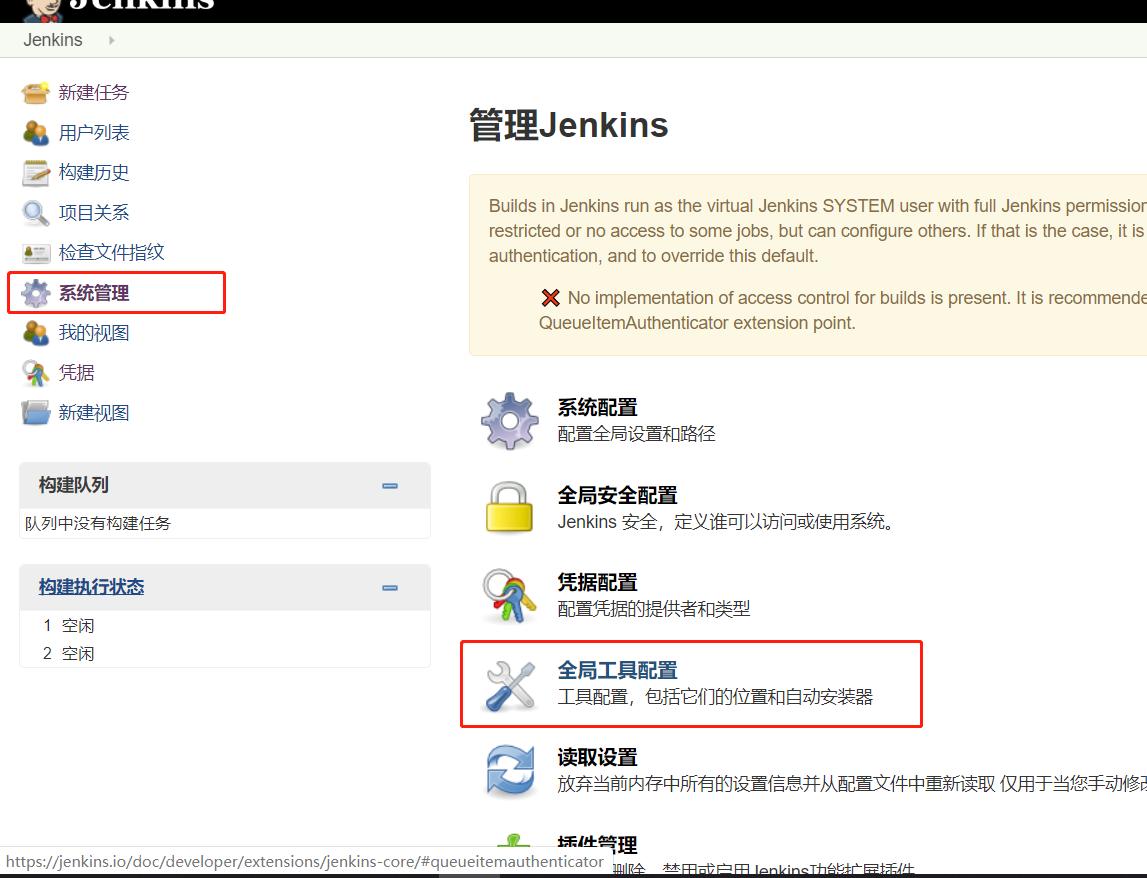
1、配置全局工具
配置全局工具配置
- 配置java环境(须在服务器安装好)
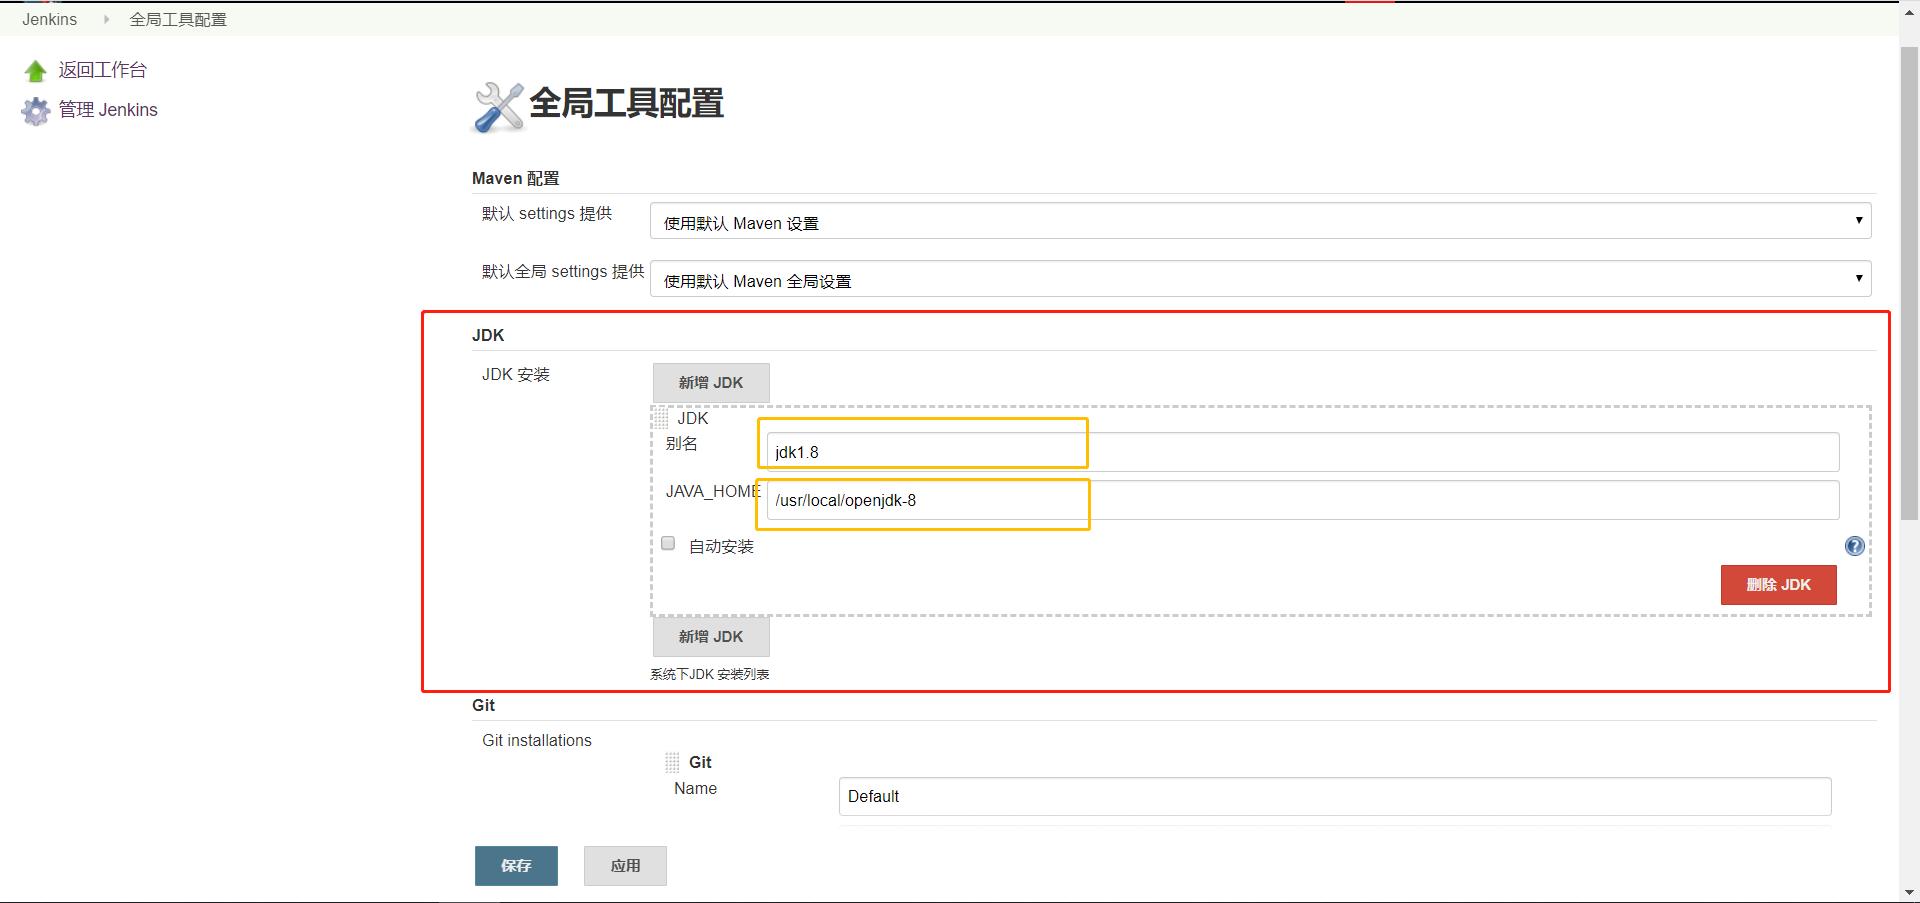
- 配置maven环境(须在服务器安装好)
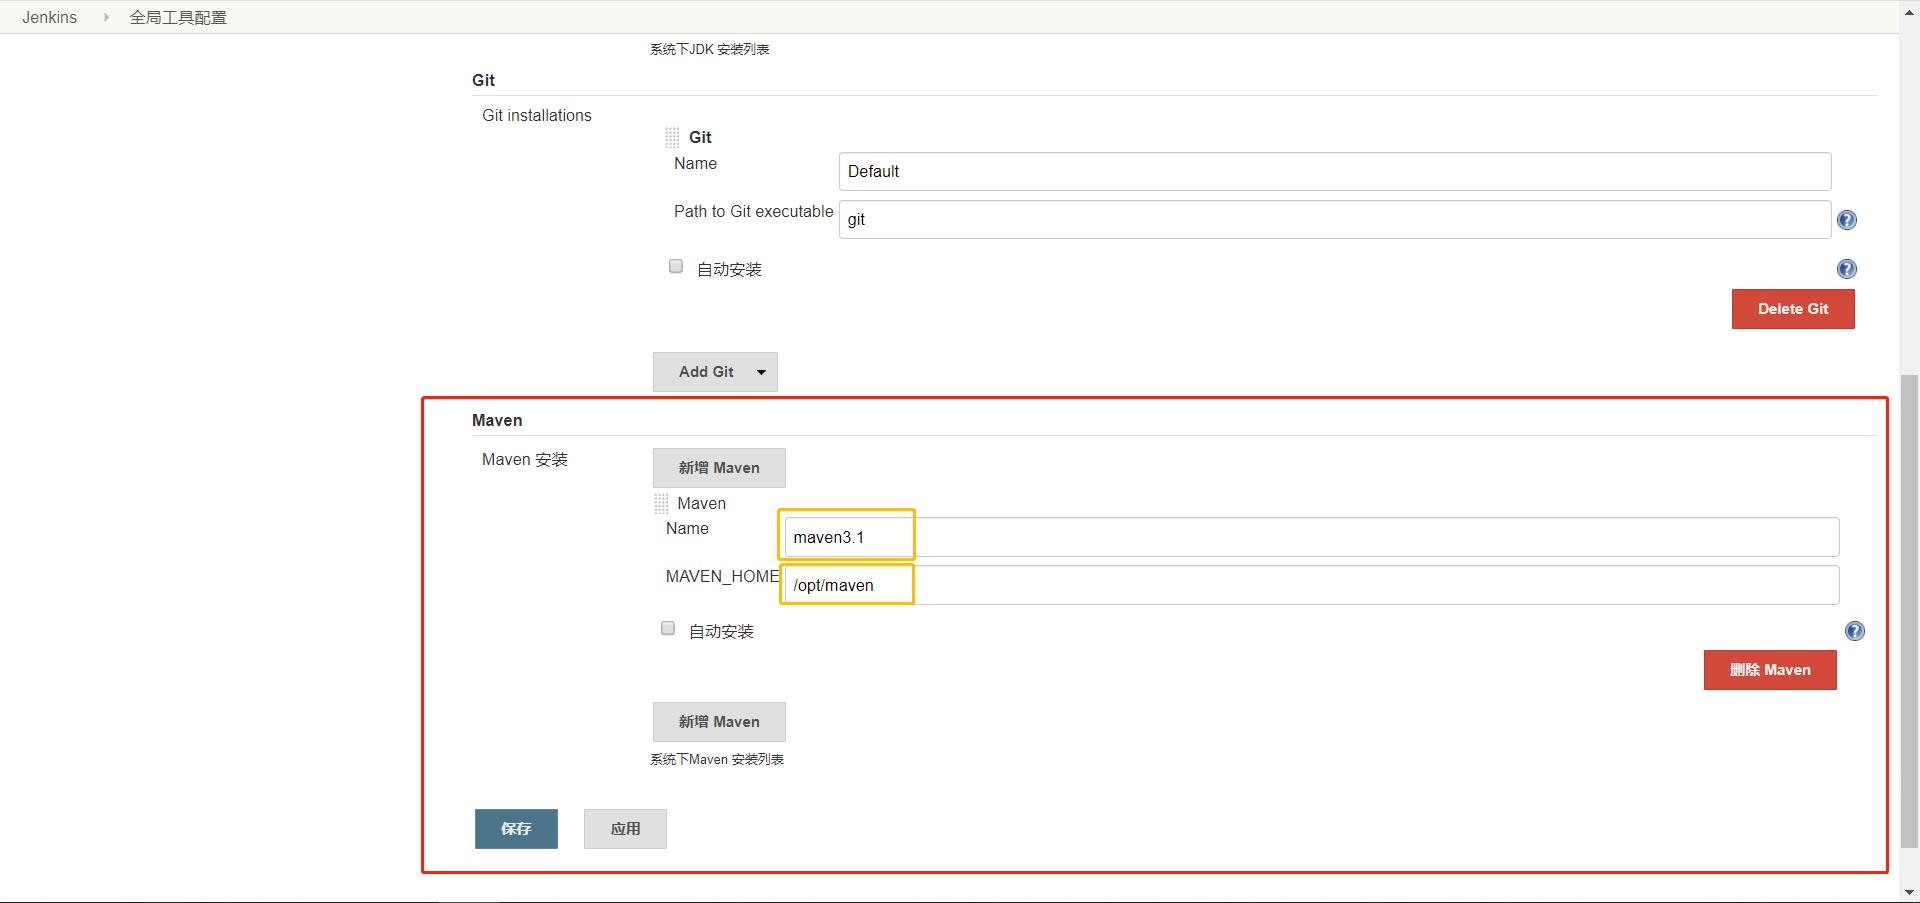
- 配置git环境
一般安装插件的时候会安装上,若没有那么就要下载git,同上配置
- 点击应用,保存。
另外配置系统全局配置
- 点击系统配置
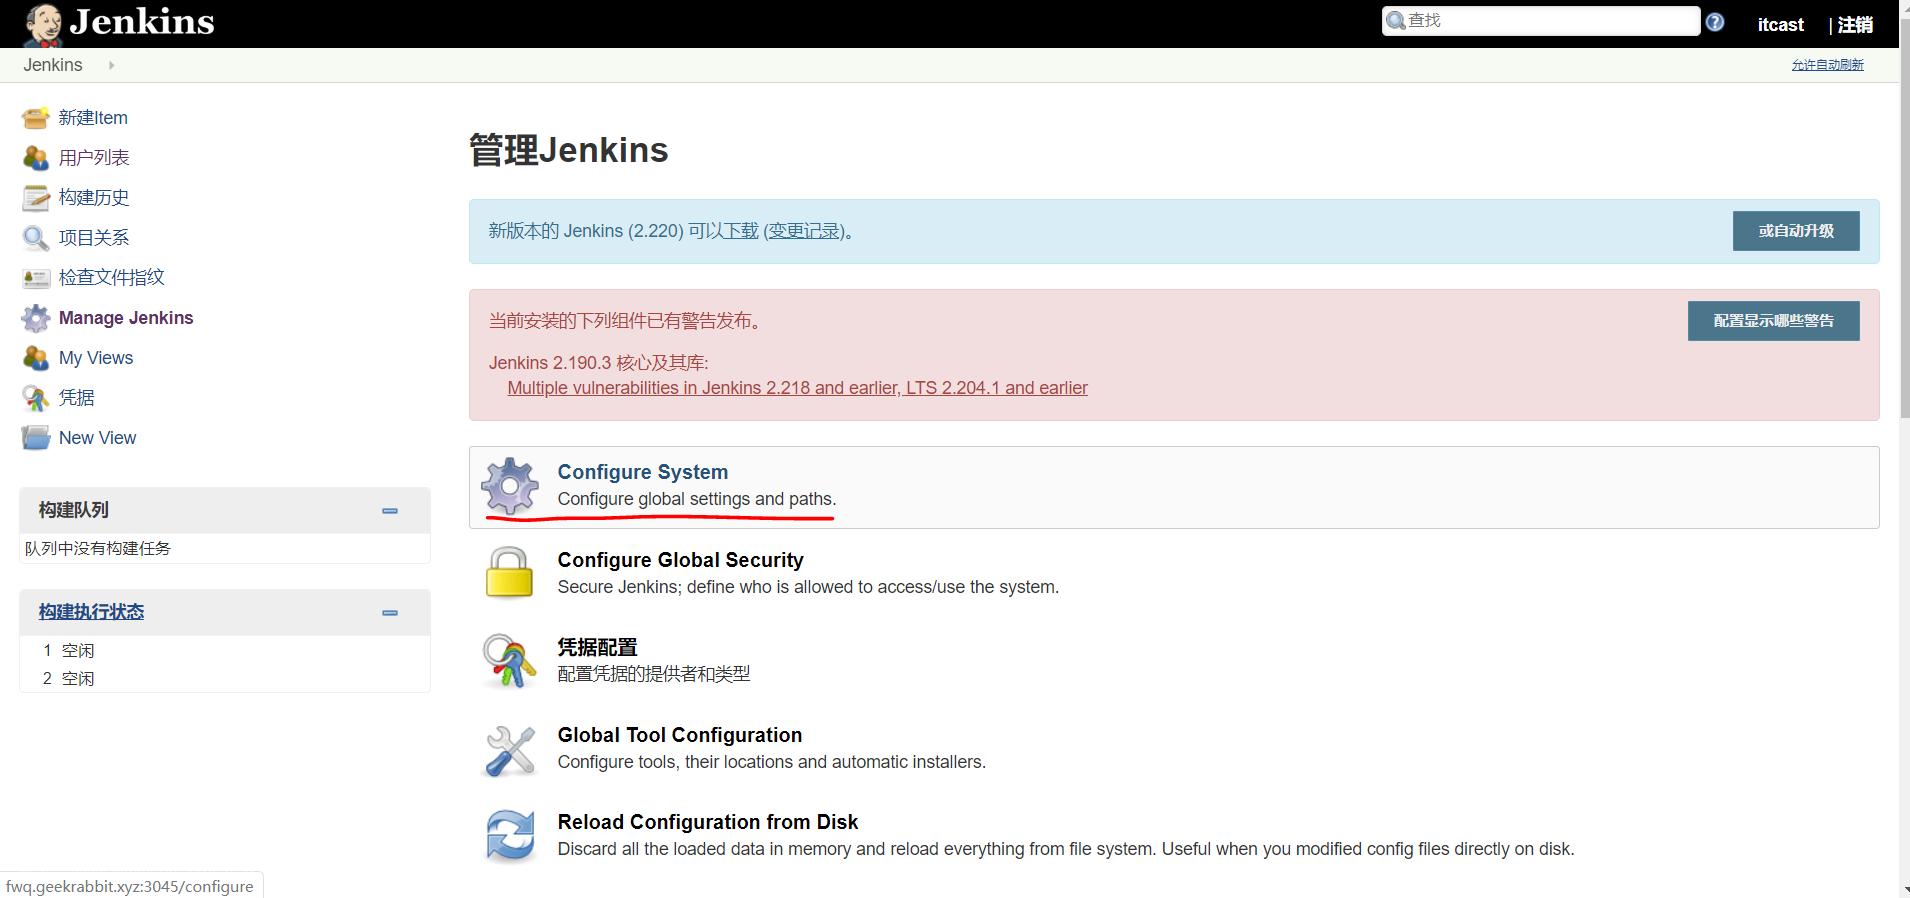
这里配置jenkins所在服务器的环境变量
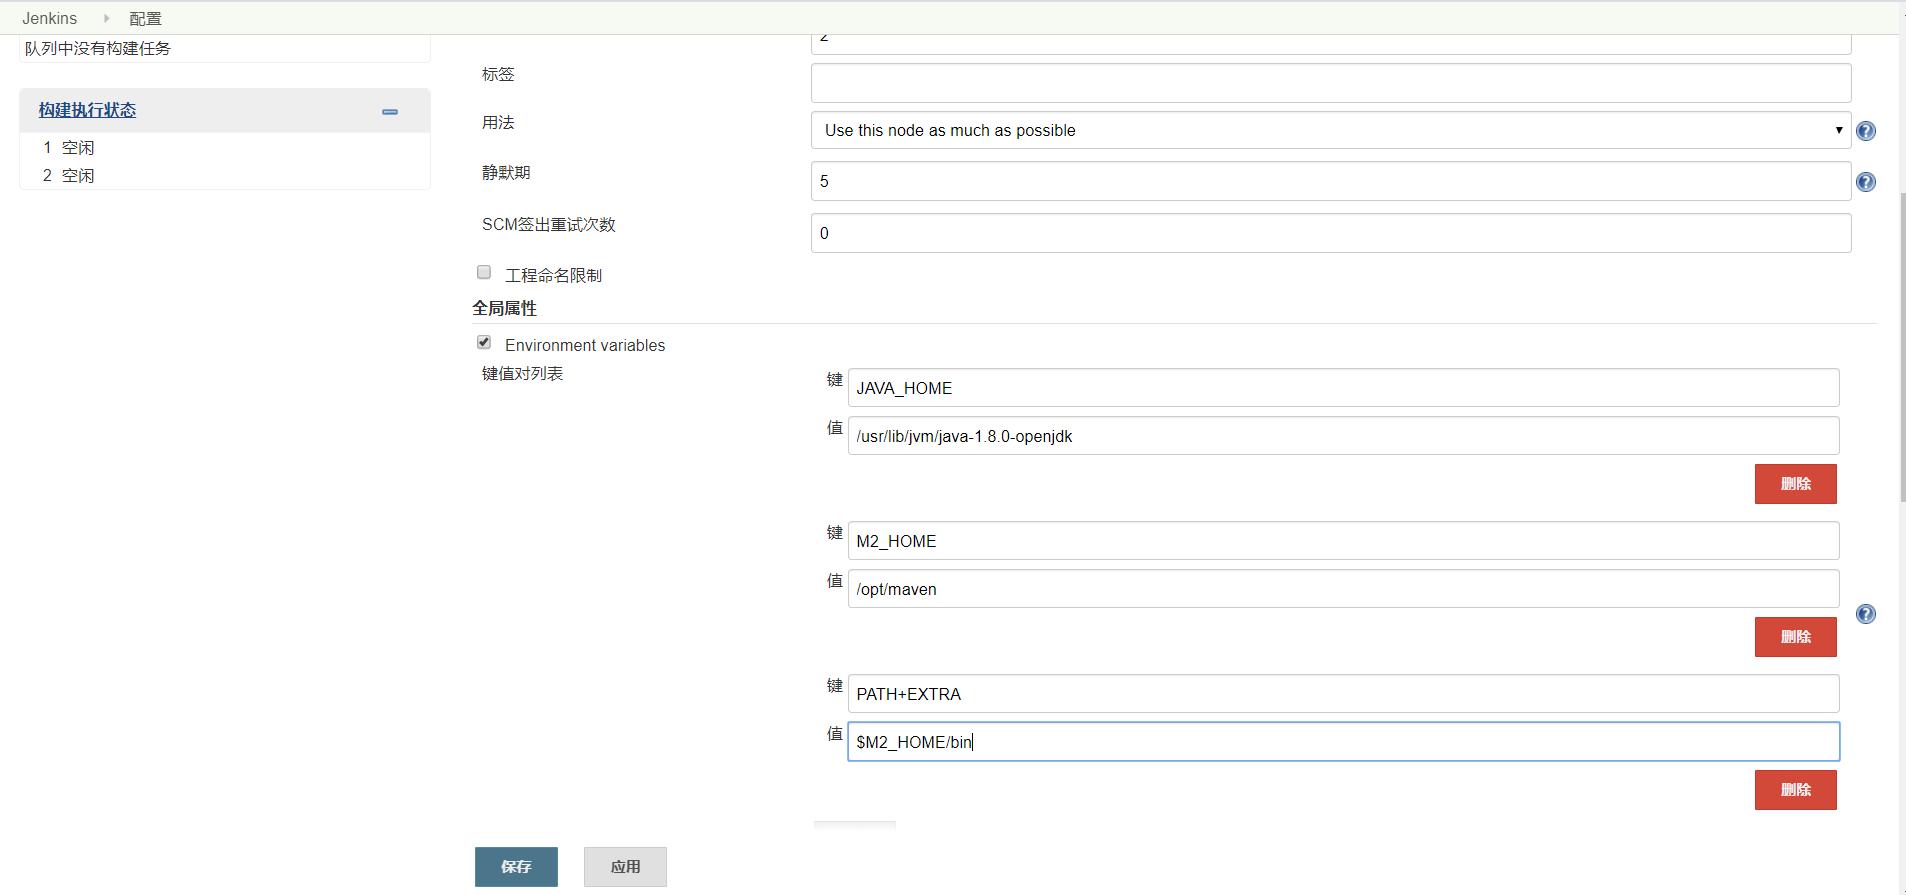
这个配置让jenkins知道环境变量
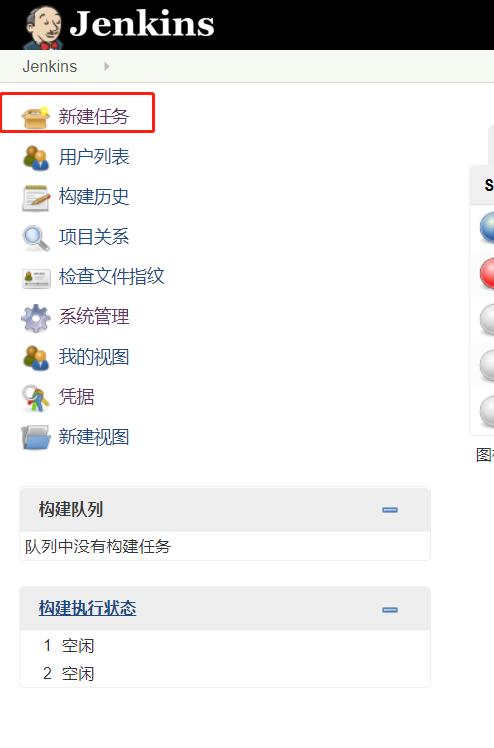
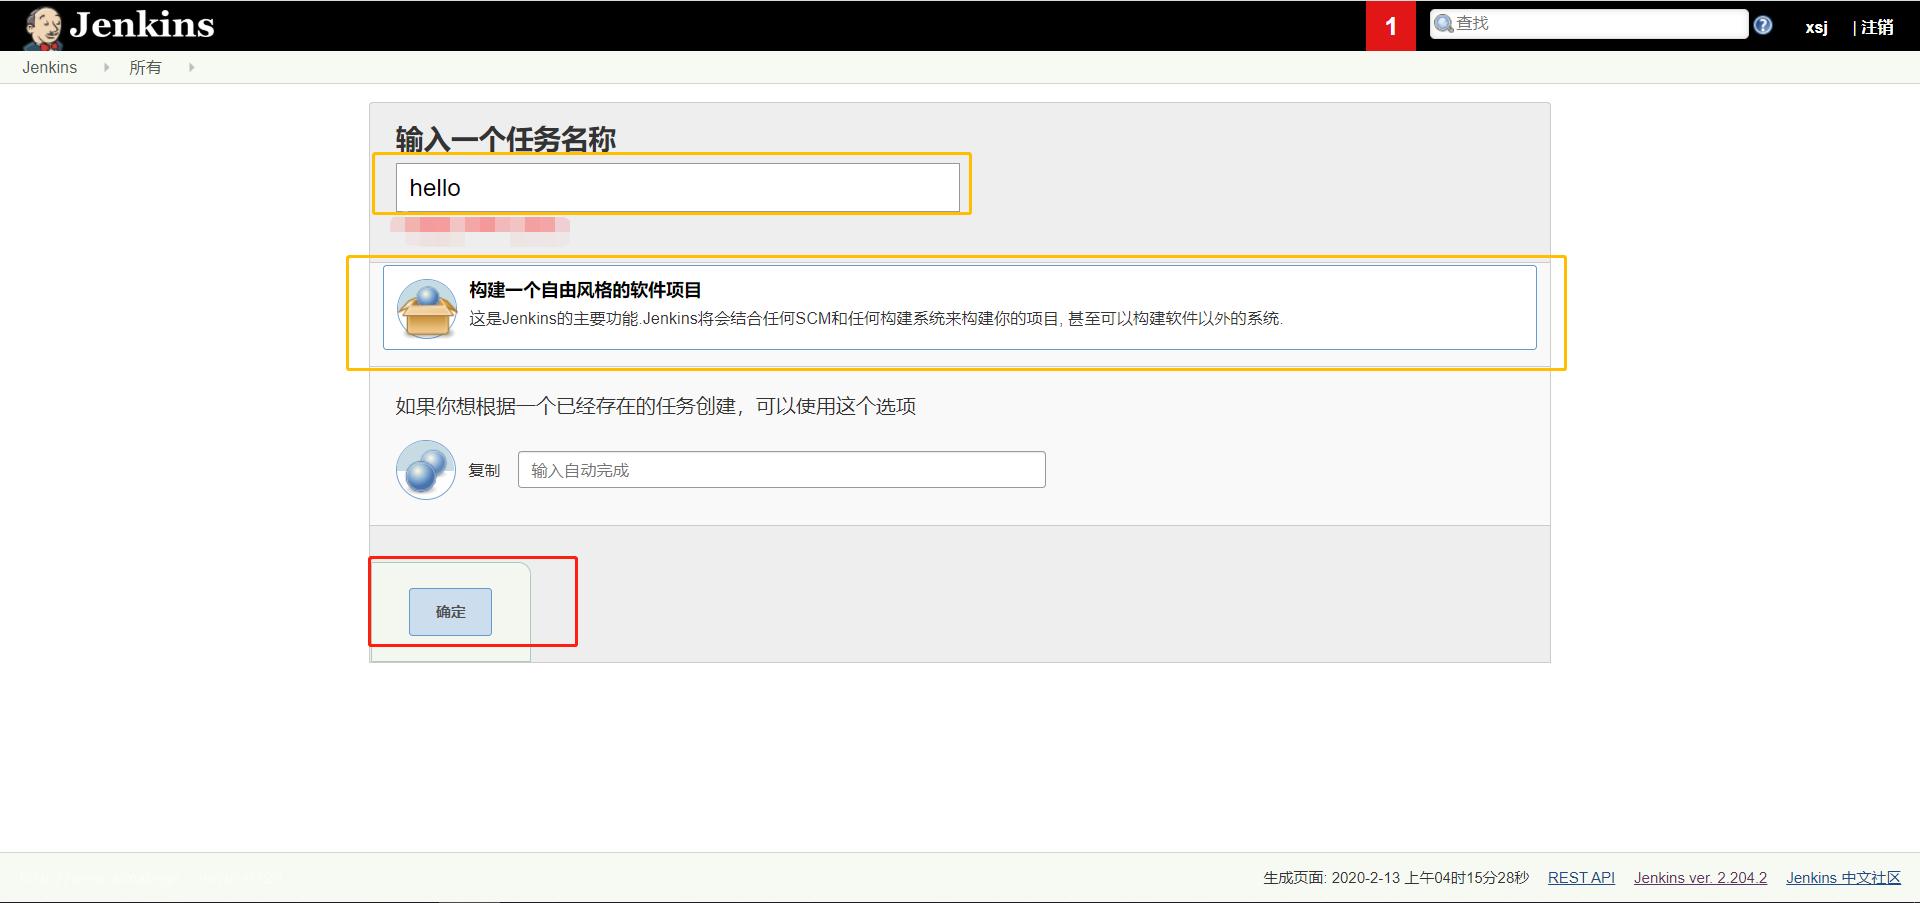
2、新建任务
3、添加凭证信息配置
- 打开配置
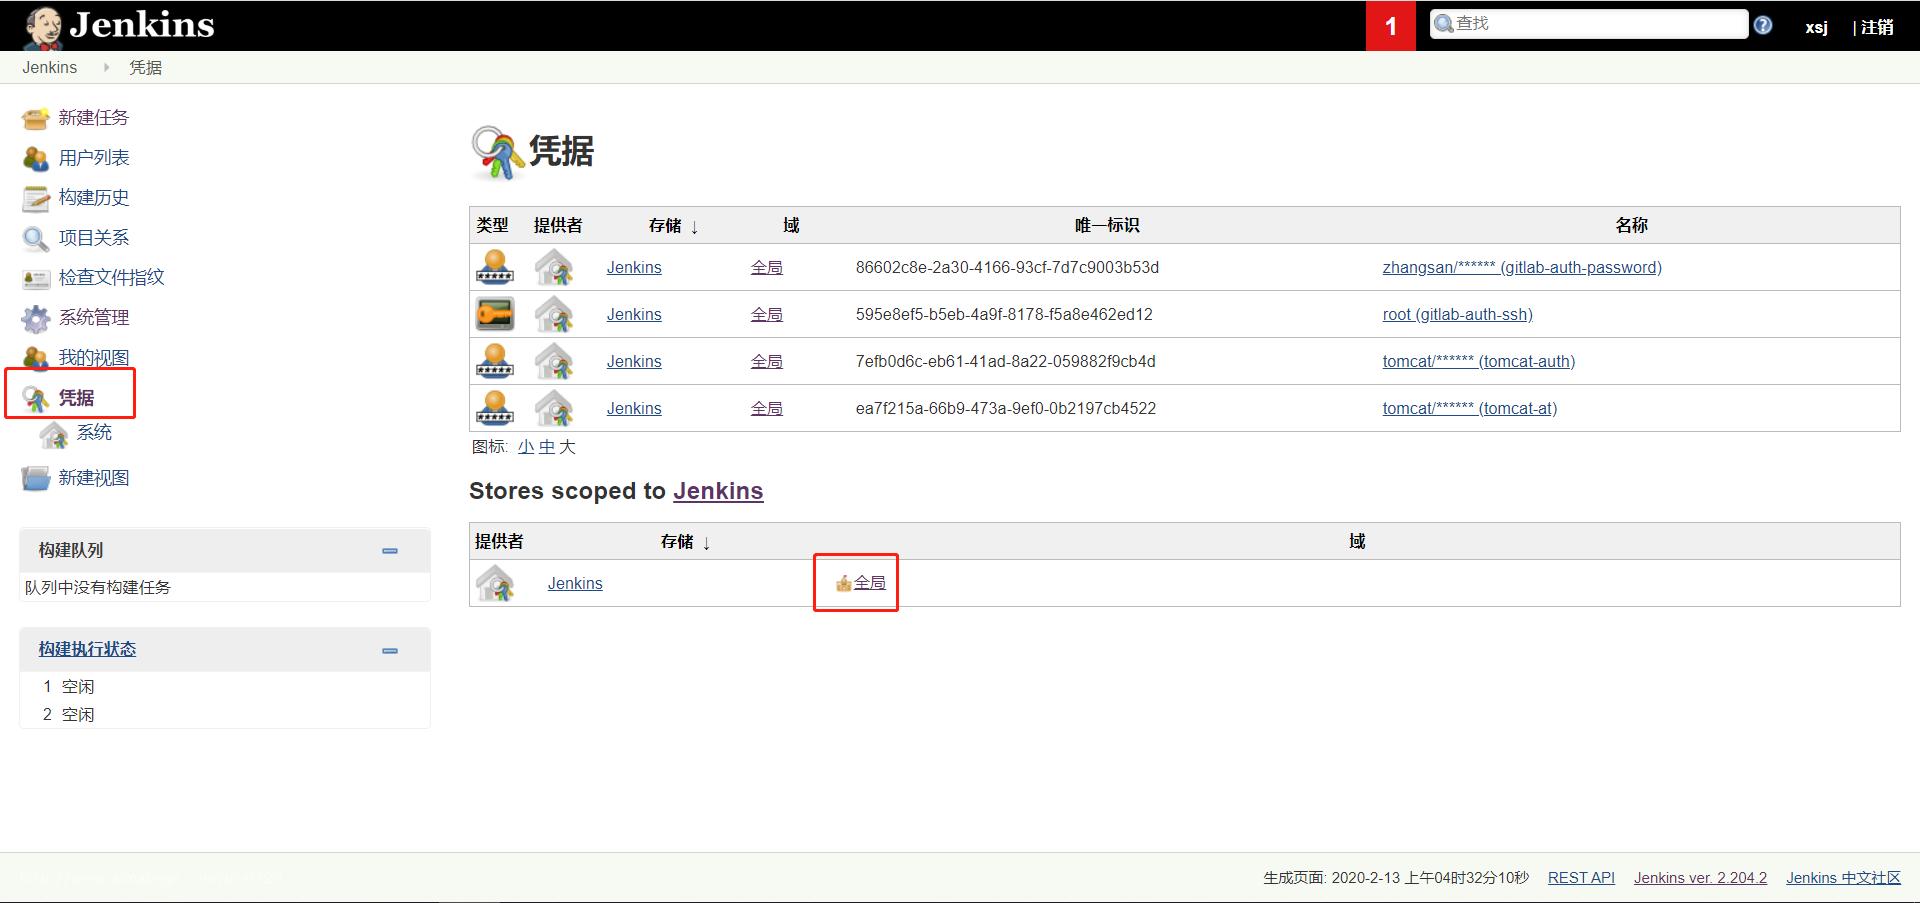
- 添加凭证
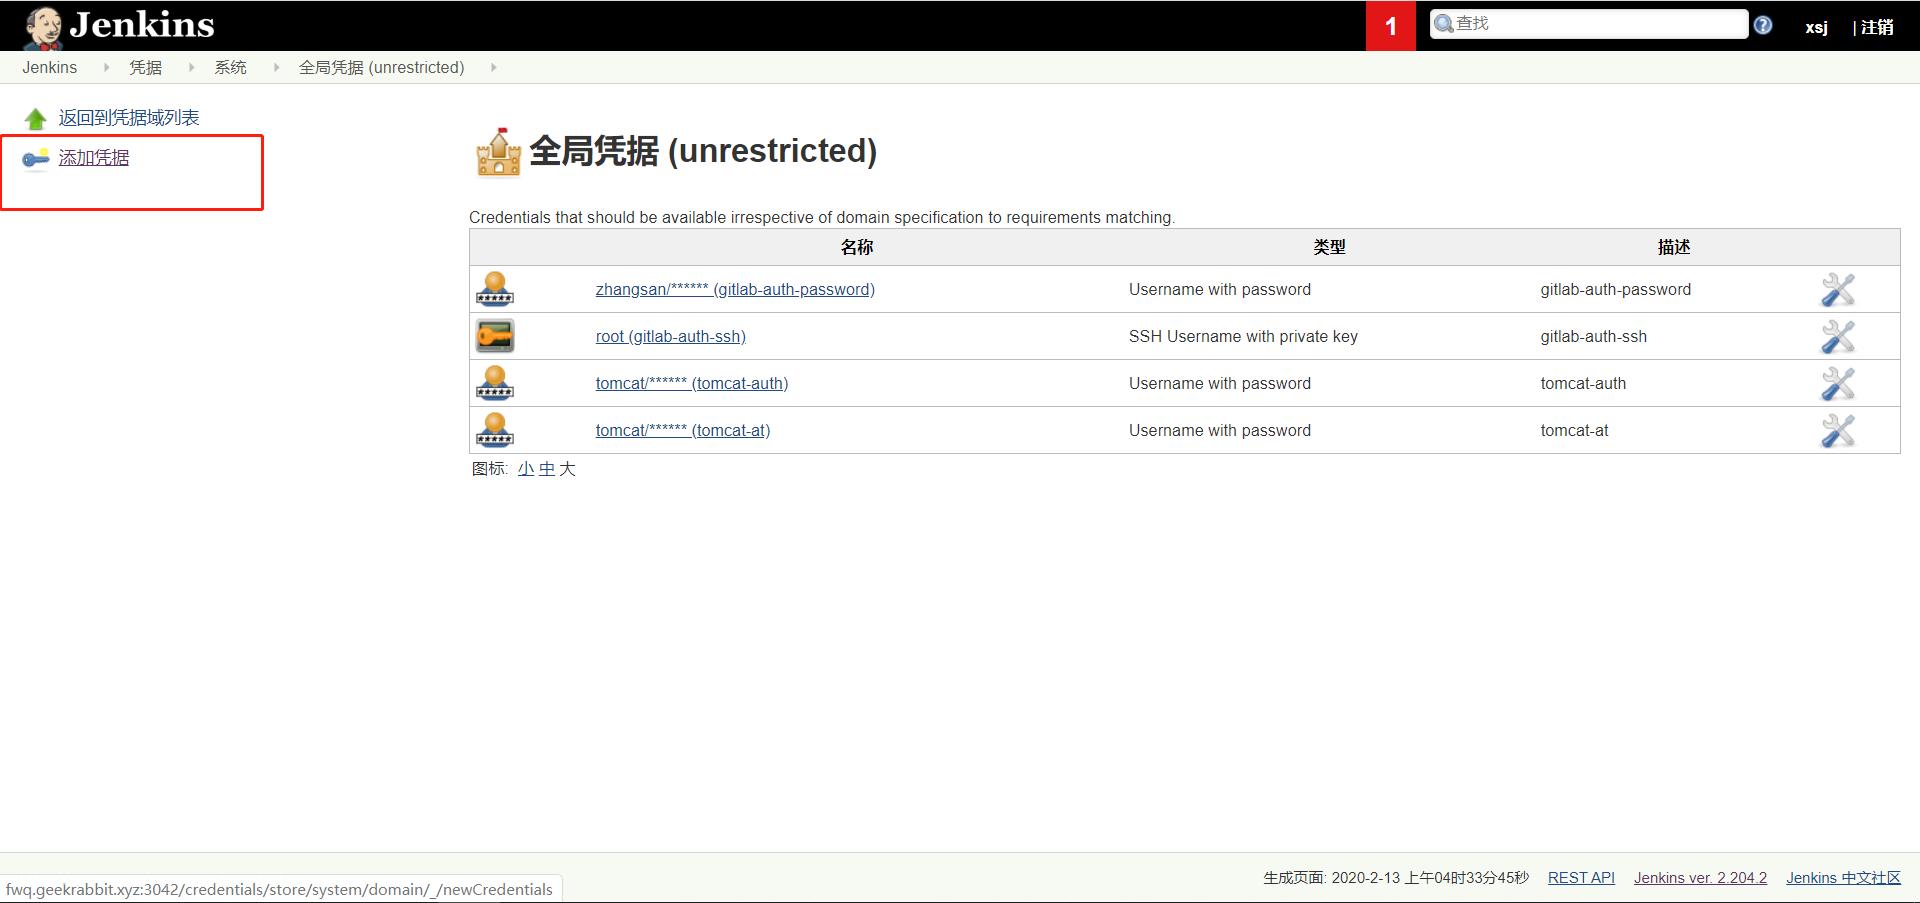
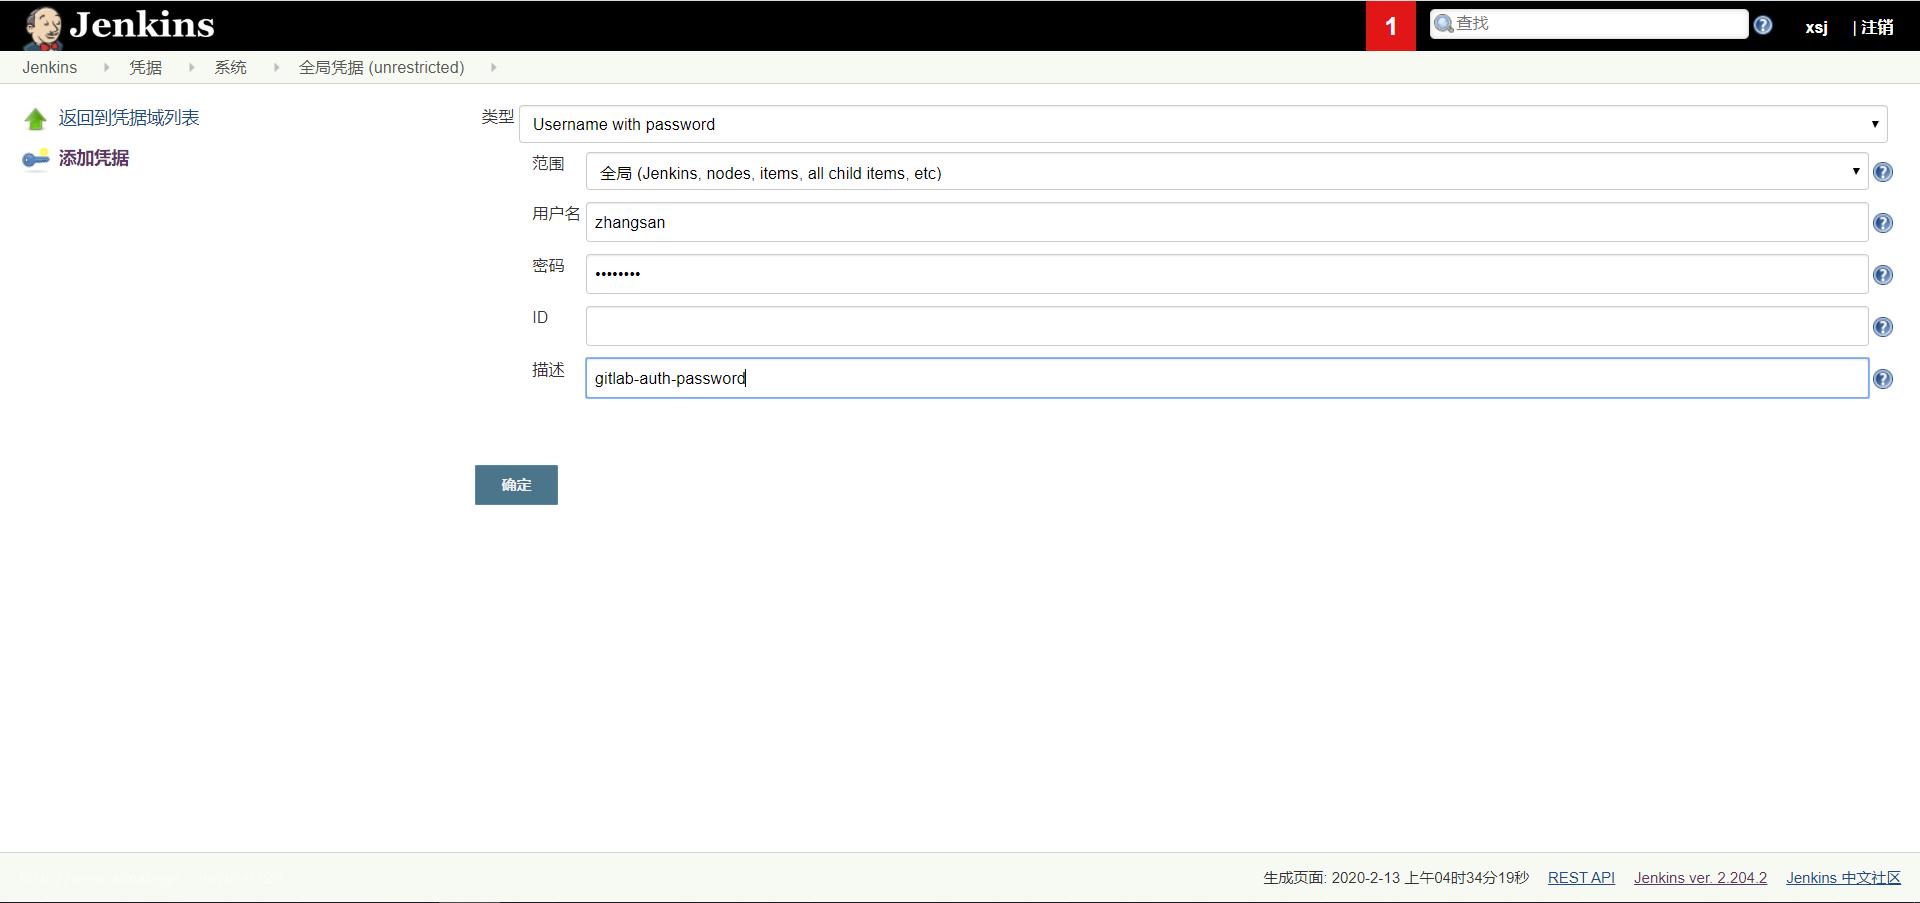
- 填写信息
例子:http拉取代码时所需要的账户密码登录凭证
另外使用ssh连接参见教程
4、配置构建步骤
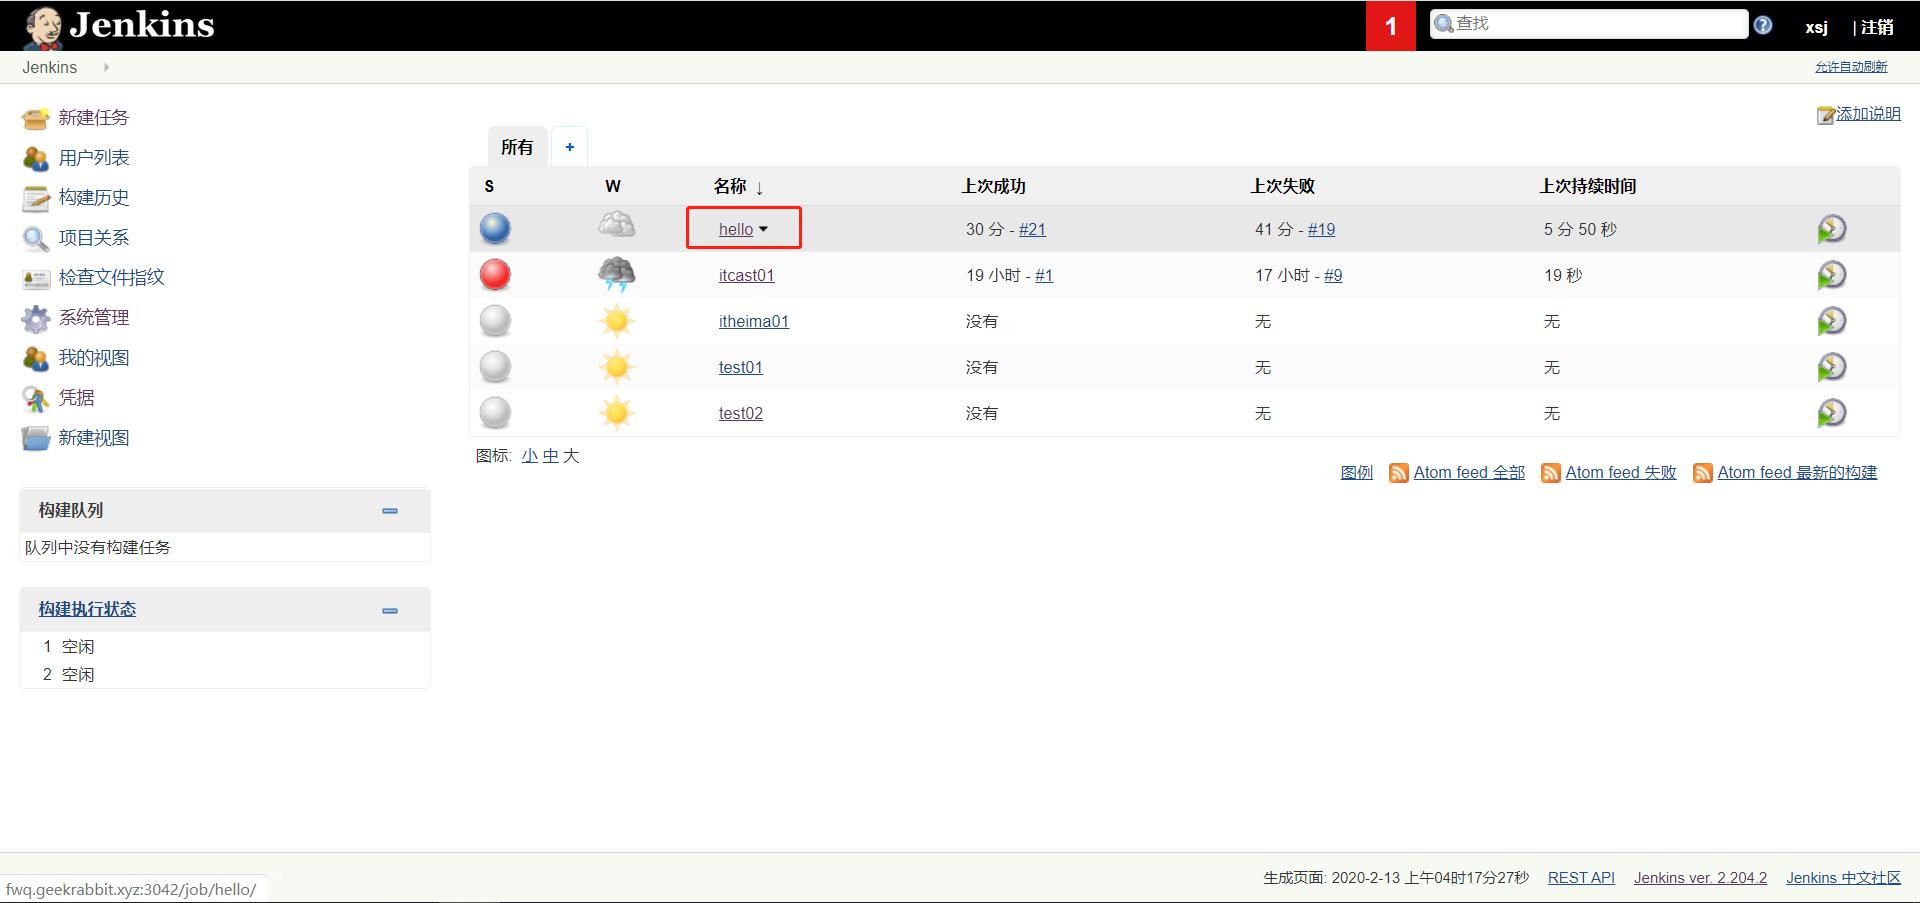
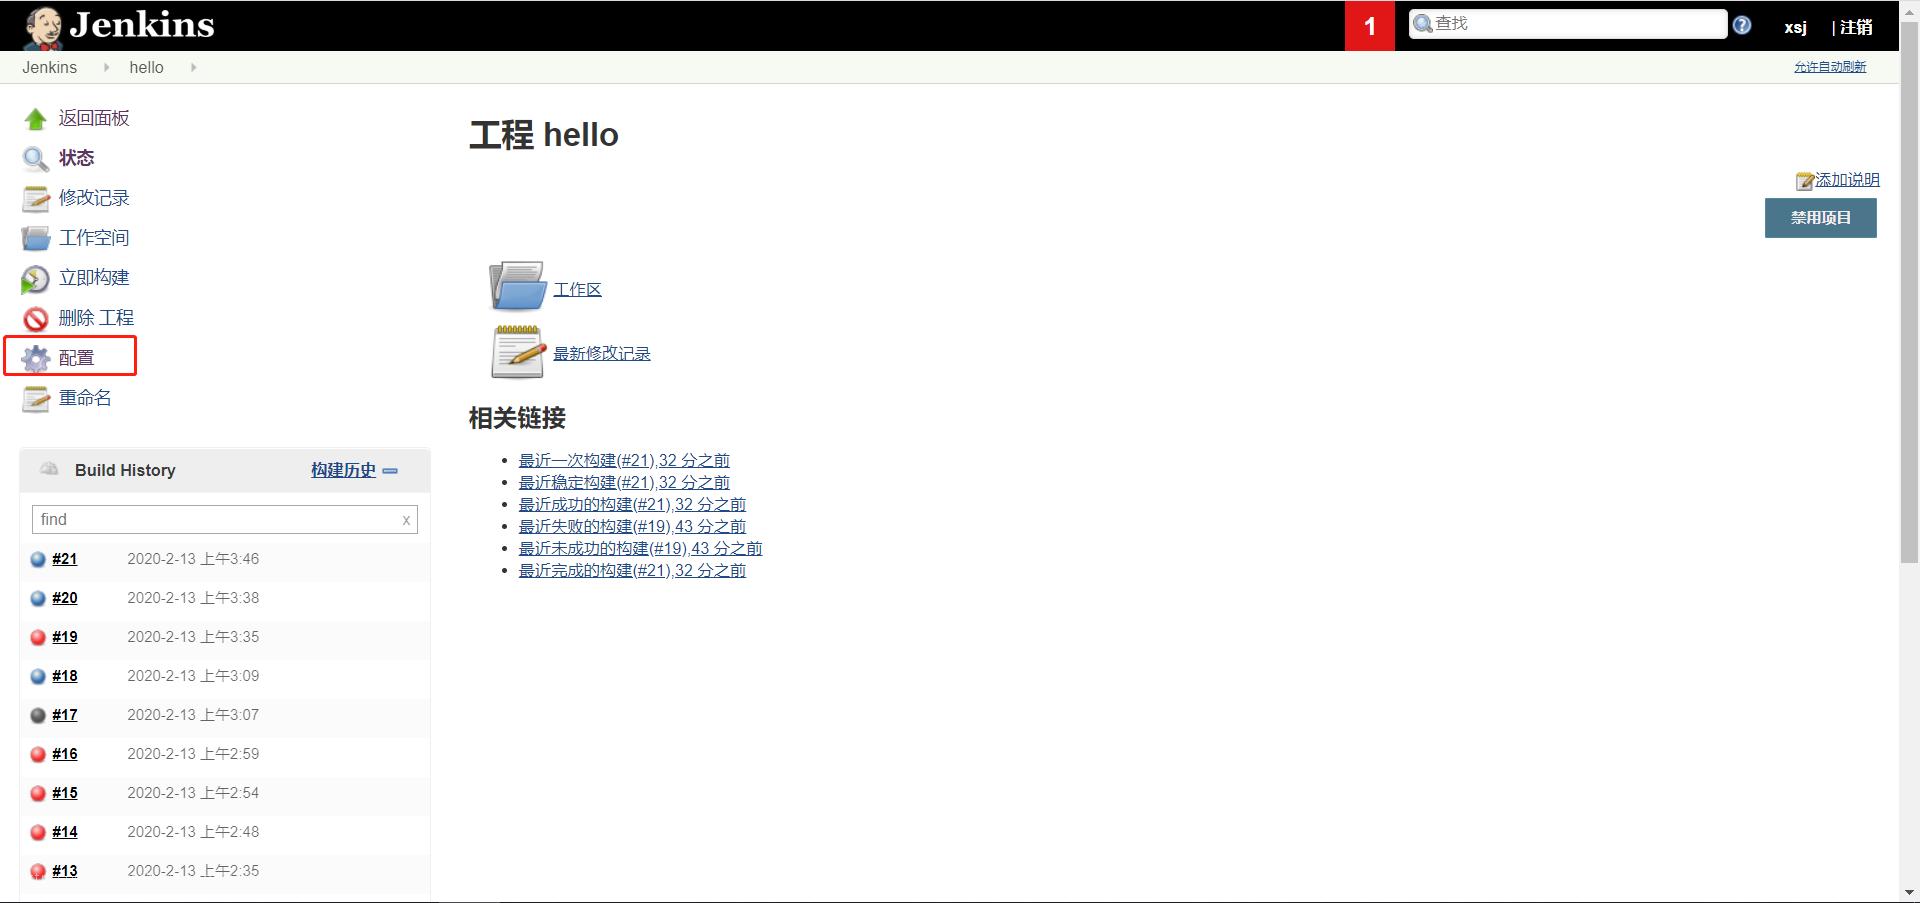
- 点击刚刚创建好的任务
- 点击配置
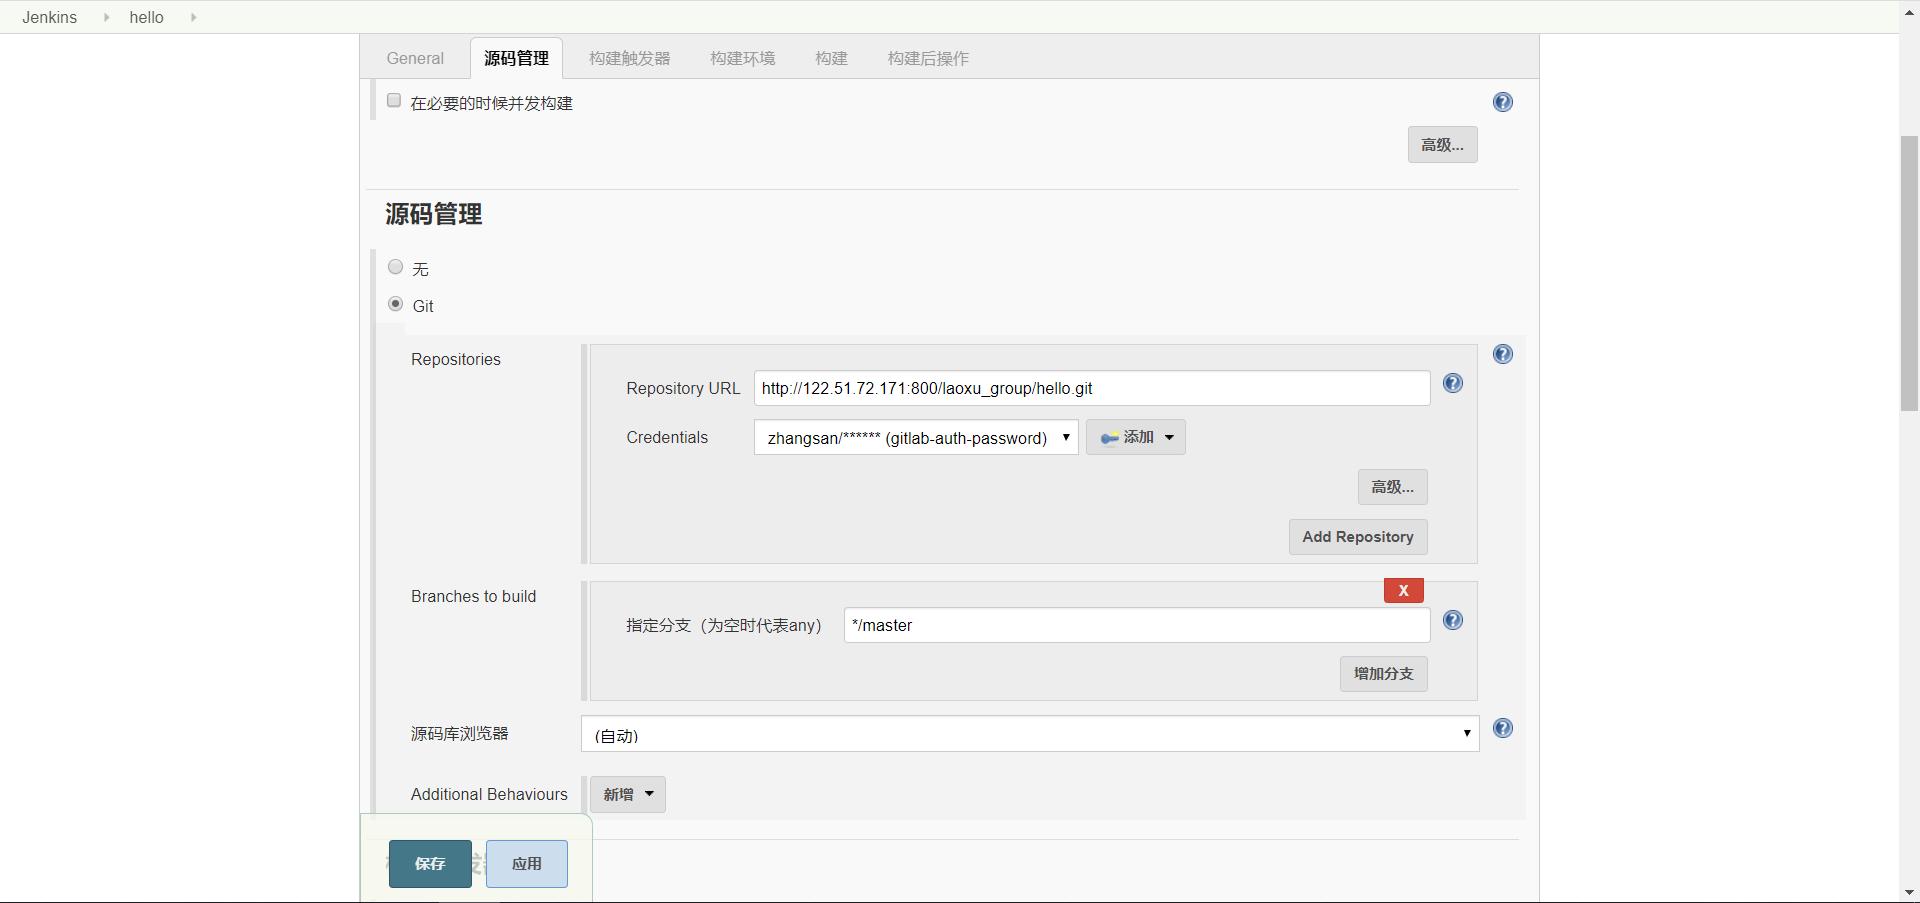
- 添加拉取的仓库地址和验证账户密码
- maven 编译脚本
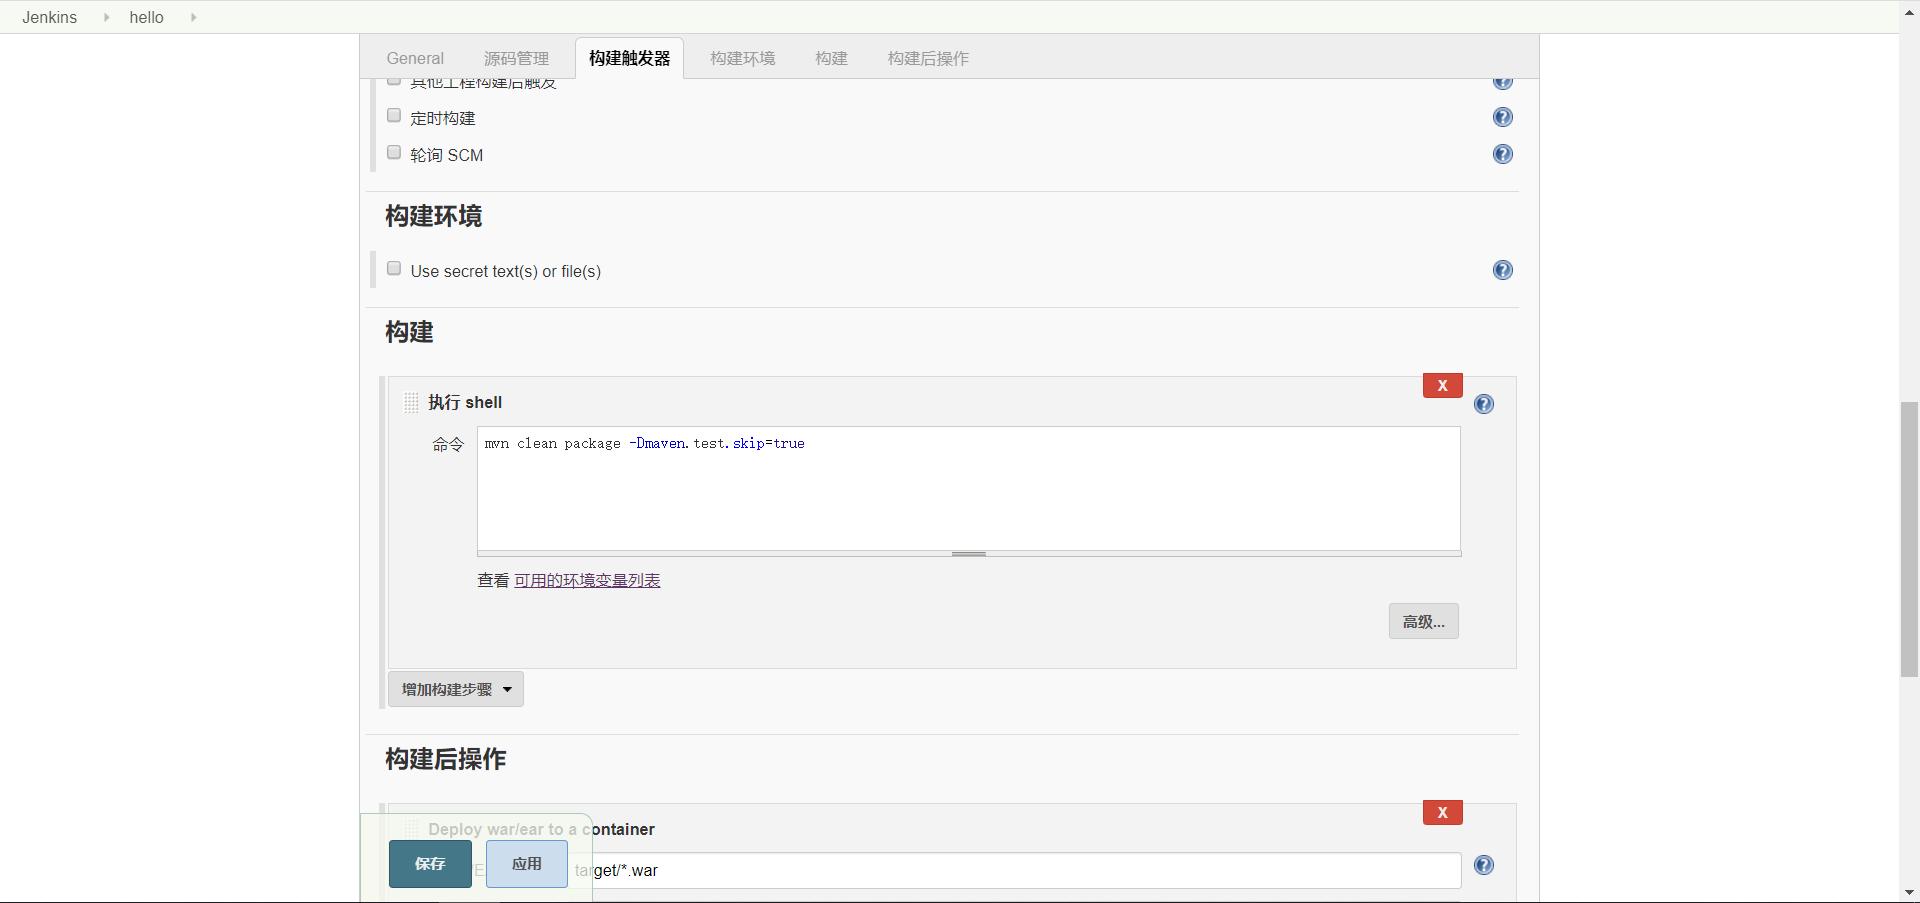
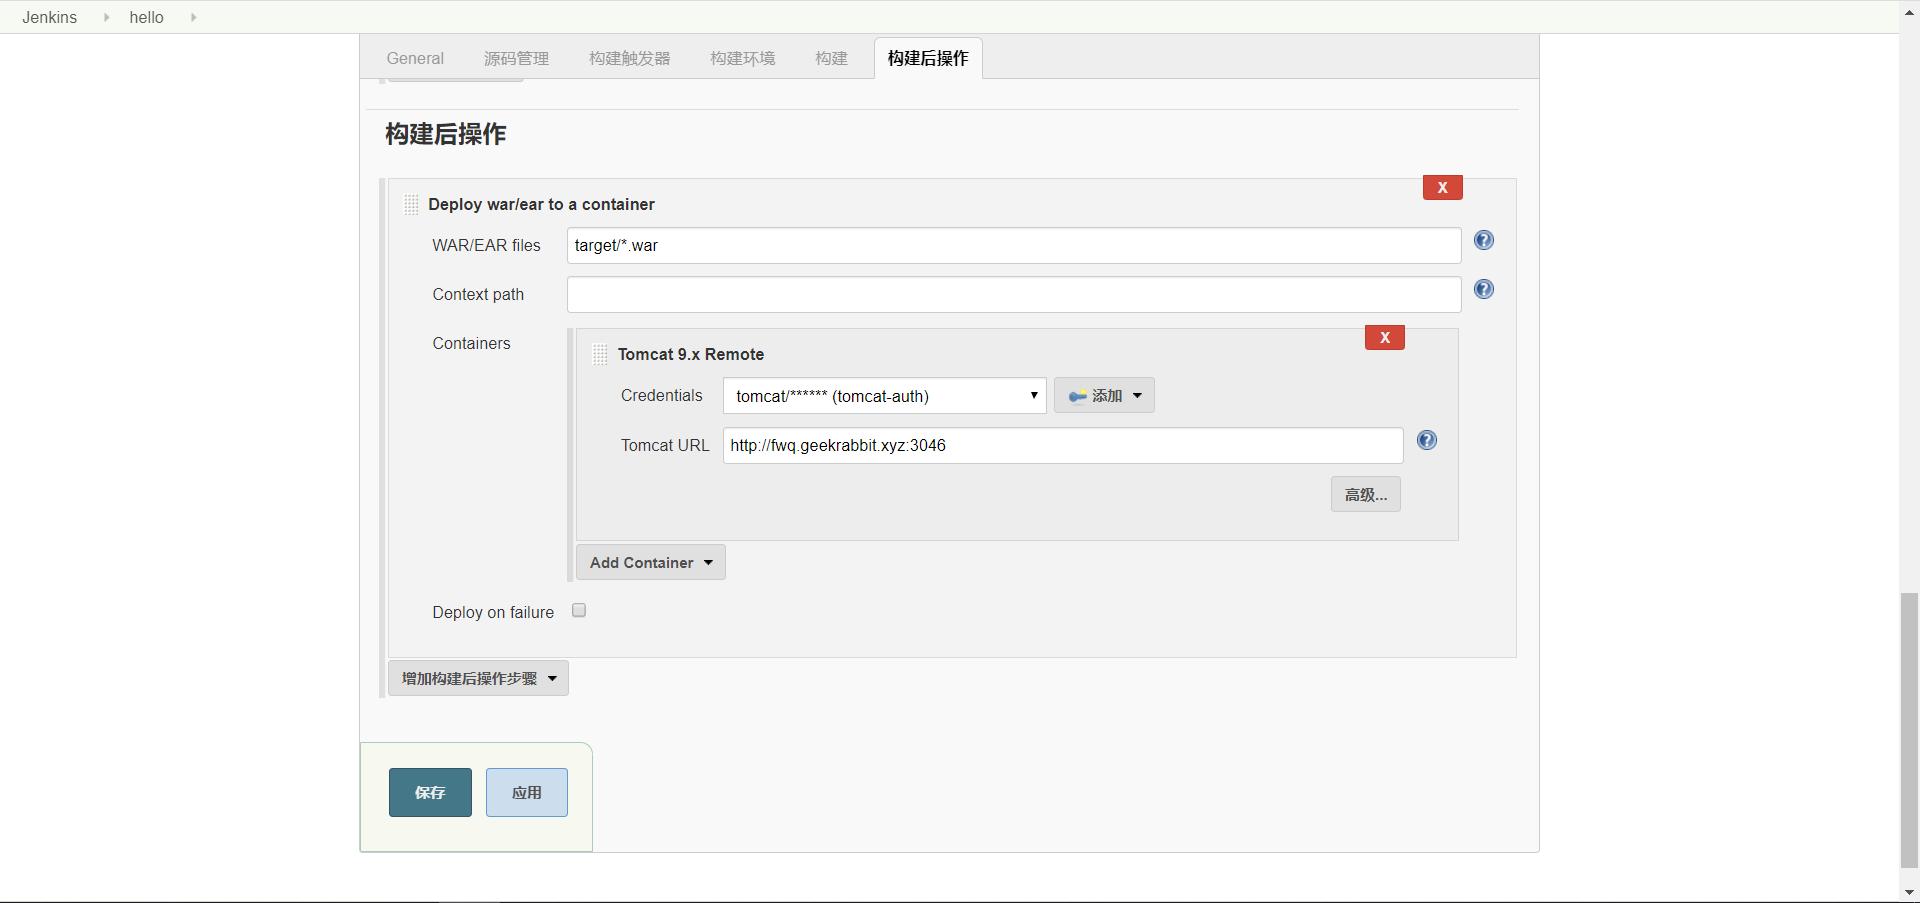
- 构建后将打包好的war传到远程的tomcat服务器(tomcat服务器须运行中)
Credentials填写tomcat服务器端配置的管理账户和密码
Tomcat URL填写tomcat服务器地址
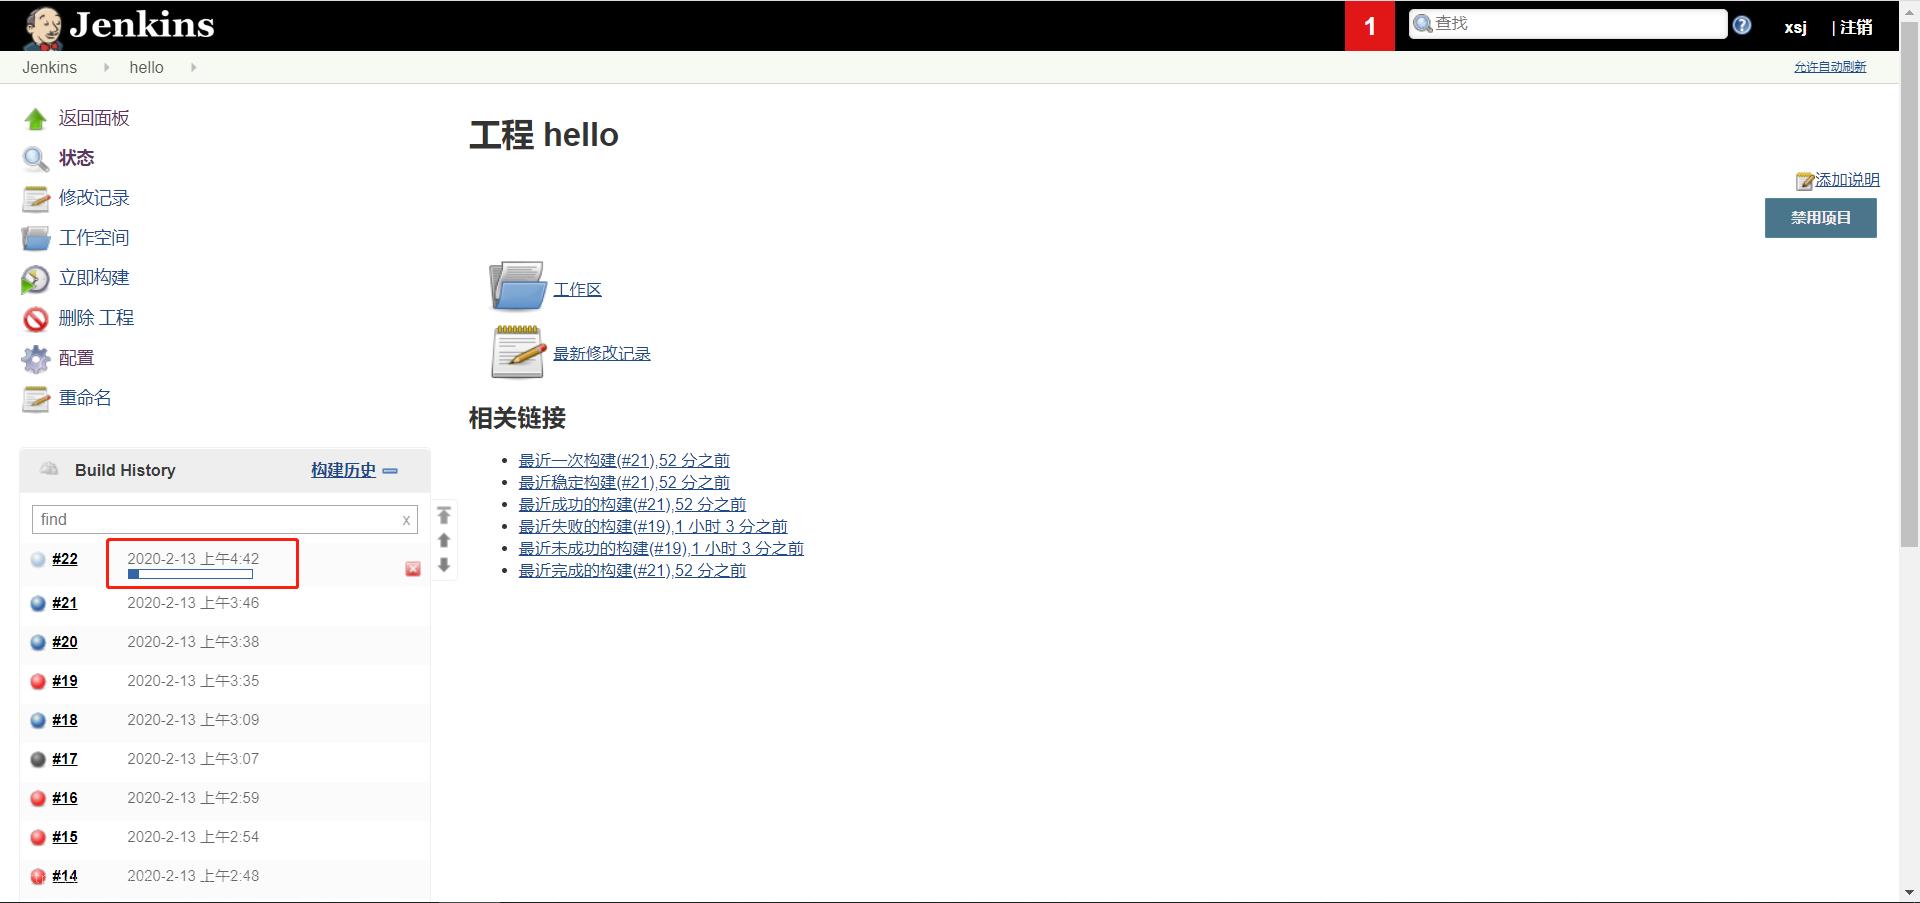
- 立即构建
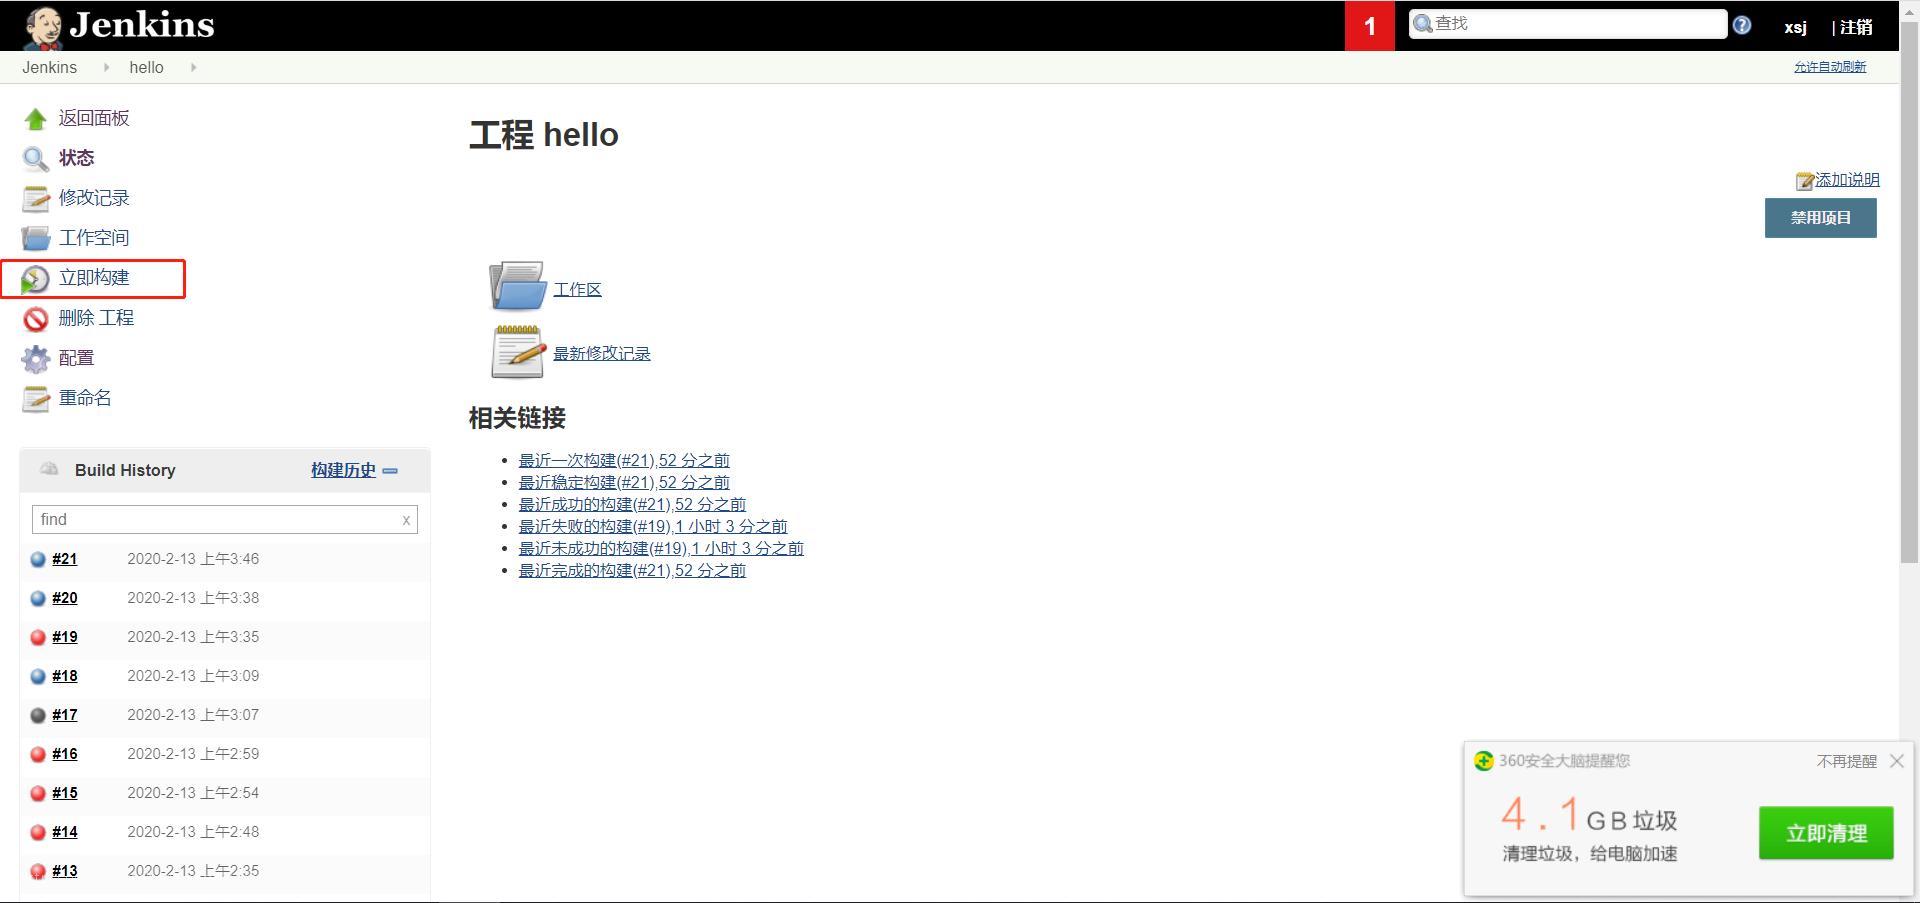
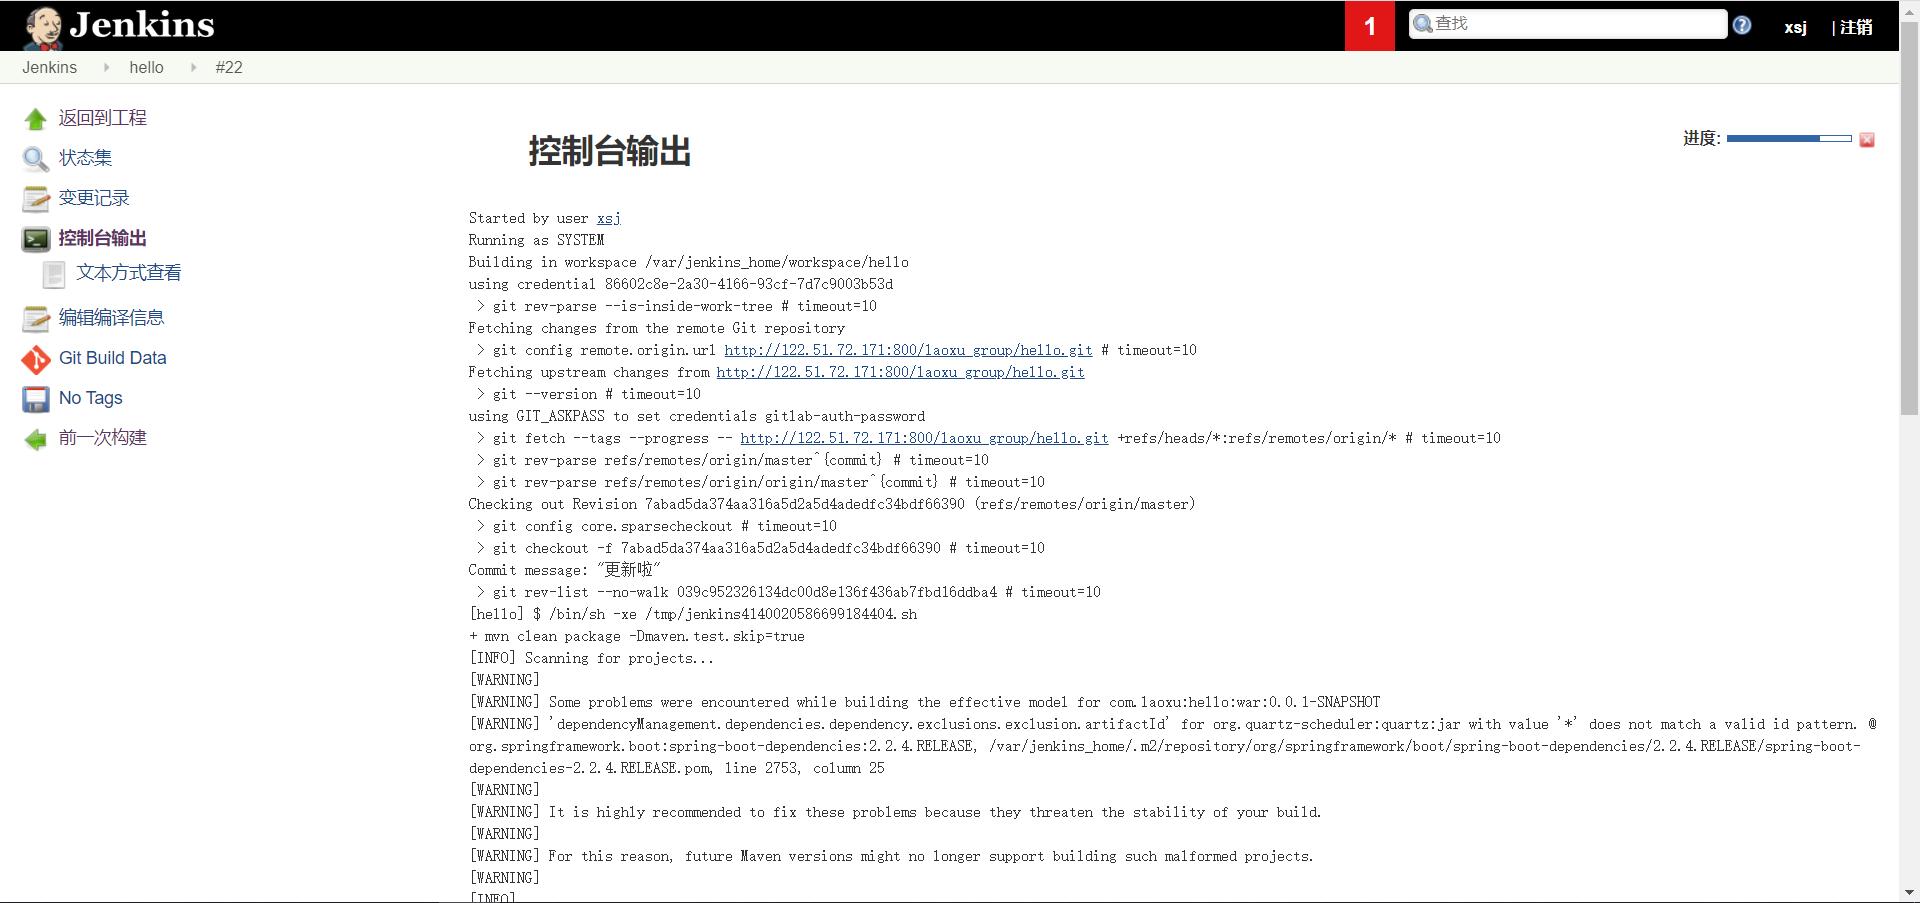
点击下面的进度条可以查看命令行输出日志
等待构建完成,访问tomcat管理页面:http://fwq.geekrabbit.xyz:3046/manager/html
可以看到产生一个新的项目:/hello-0.0.1-SNAPSHOT
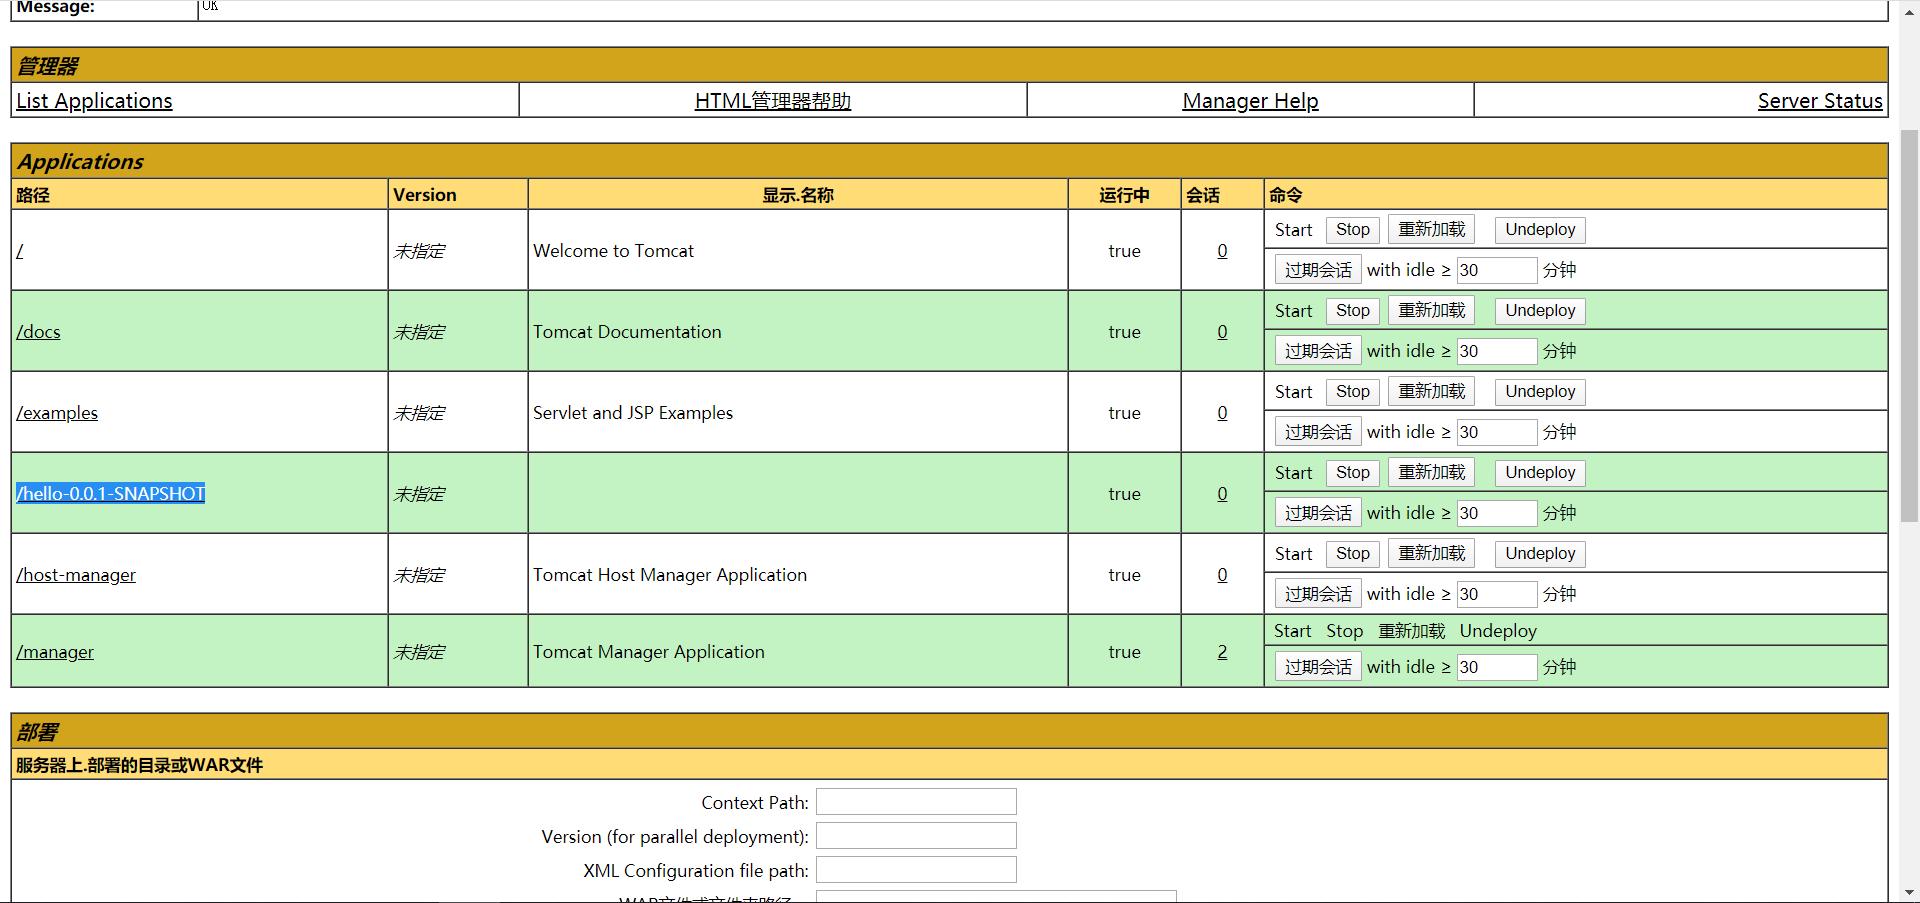
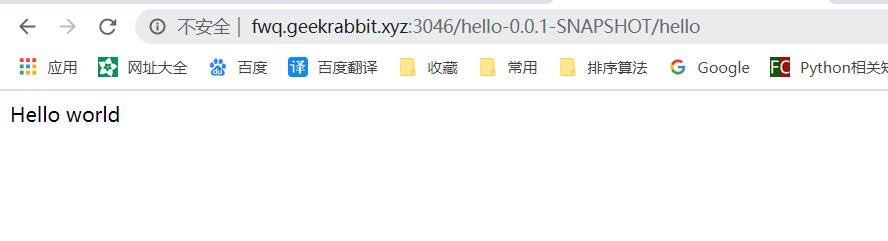
现在访问:http://fwq.geekrabbit.xyz:3046/hello-0.0.1-SNAPSHOT/hello
可以看到输出了helloworld字样
 恭喜注册成功,快来登录吧!
来自用户 记性不好的阁主 的评论(Feb 13, 2020 7:46:33 PM)
温馨提醒:需要安装插件(Deploy to container)