 自定义starter启动器
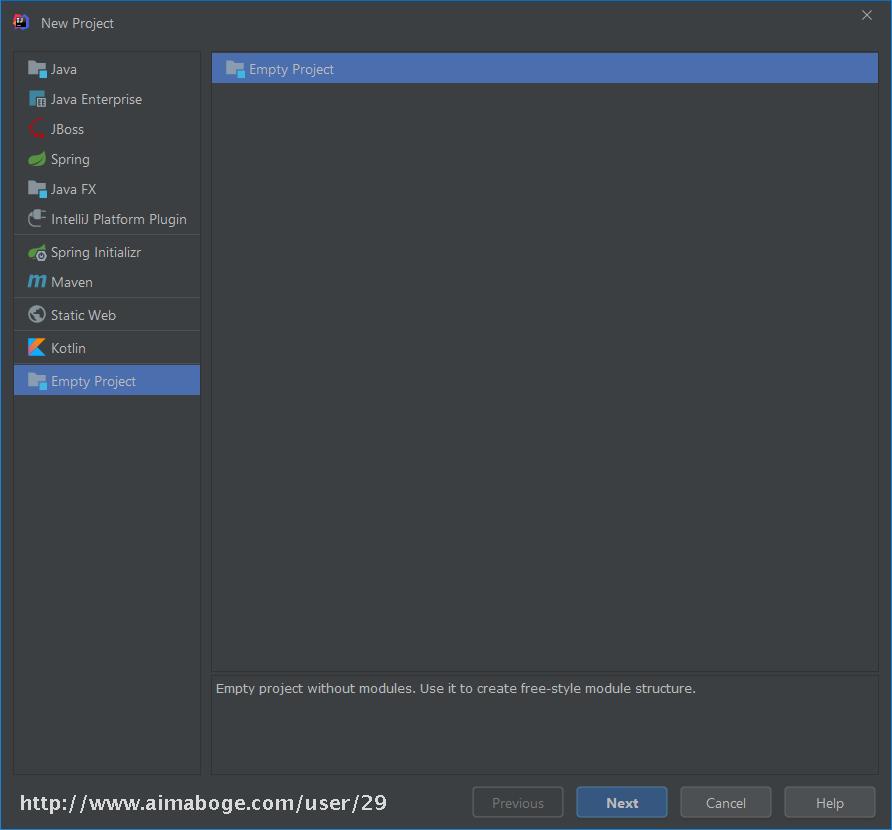
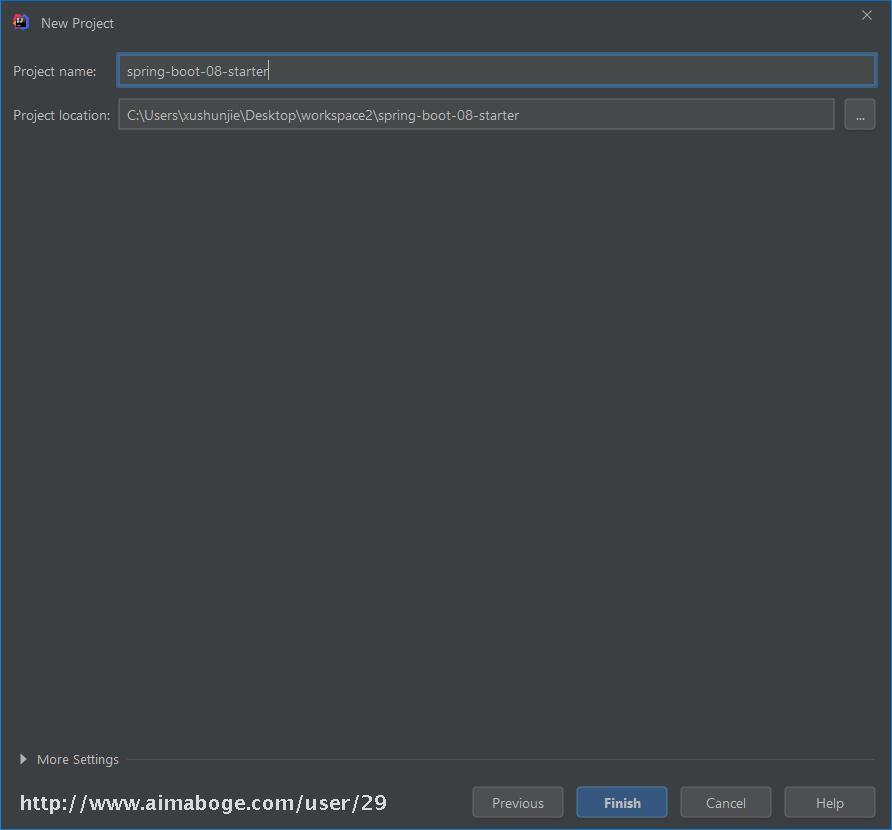
1、创建空项目
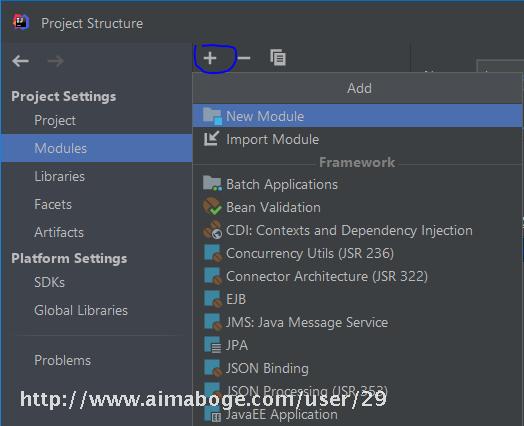
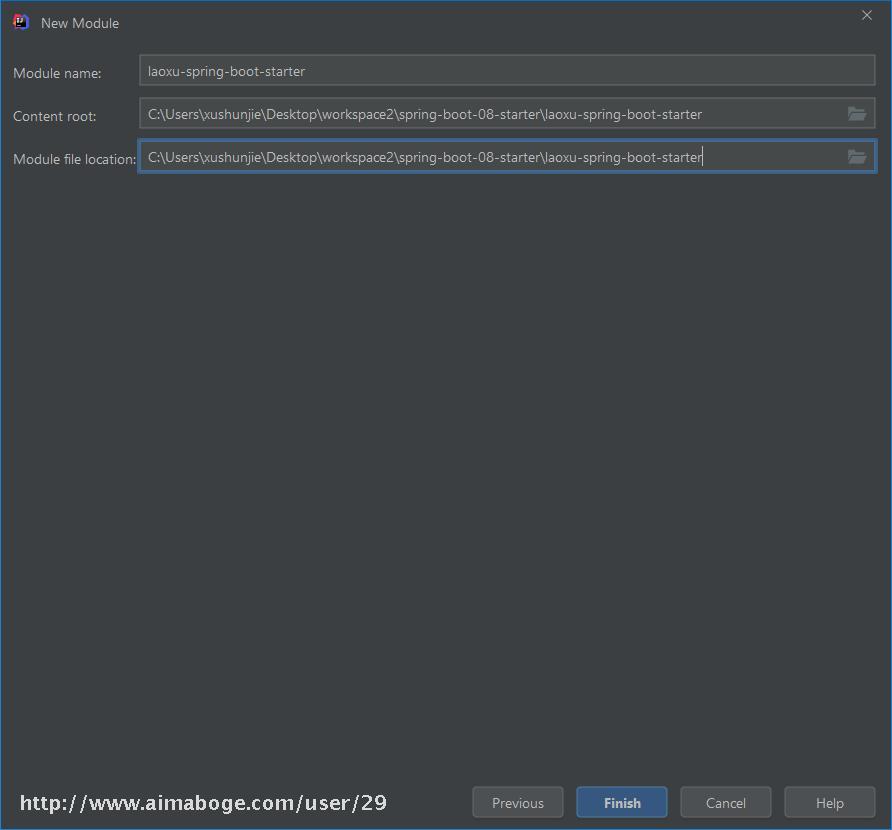
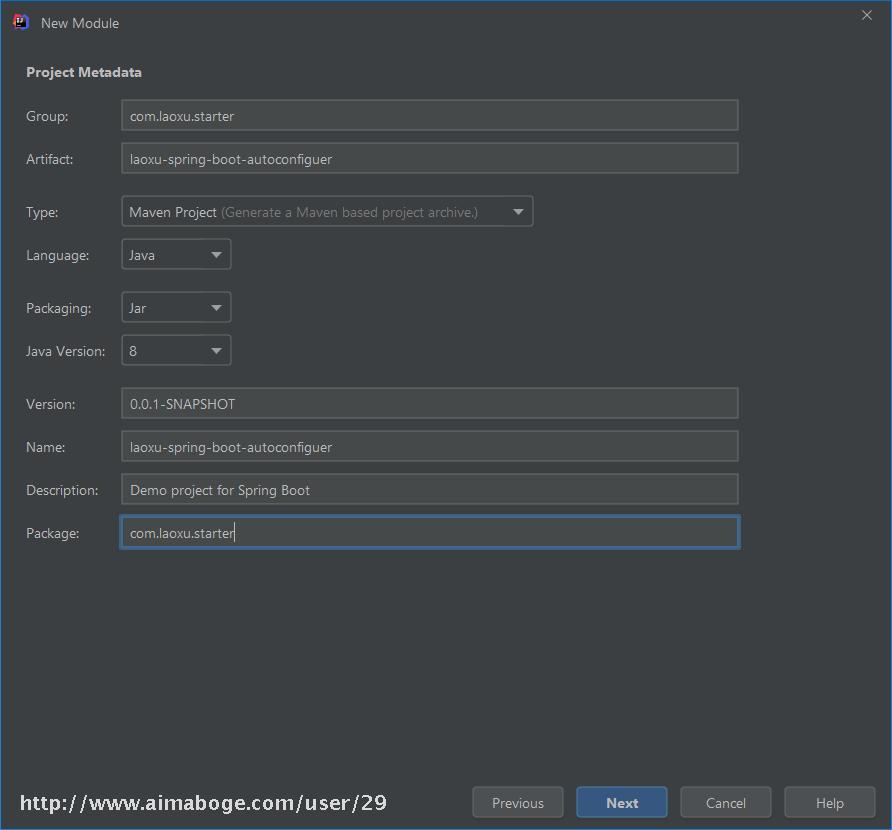
2、创建自定义starter模块
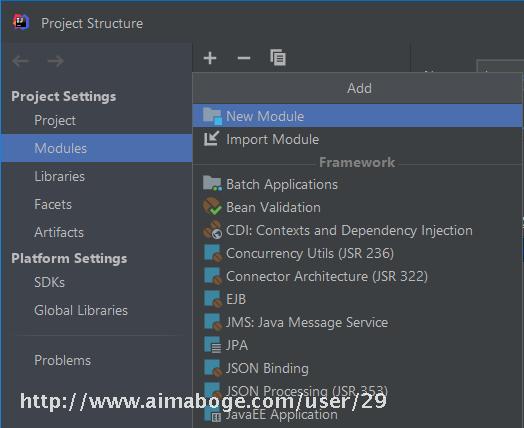
Ctrl + Shift + S 打开项目结构
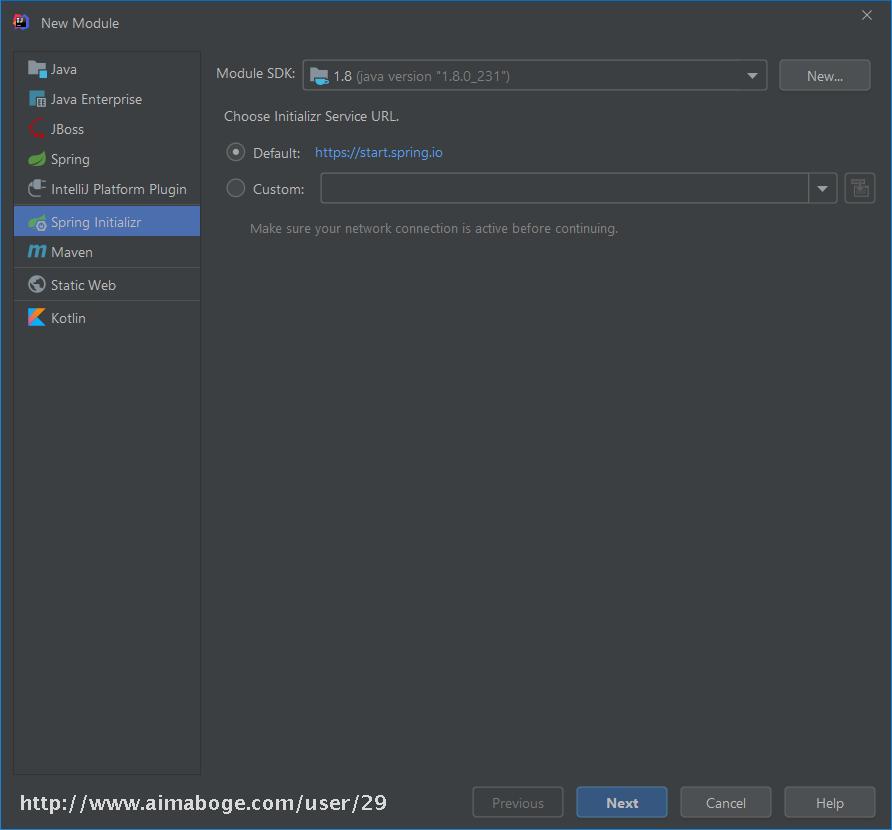
选择Maven
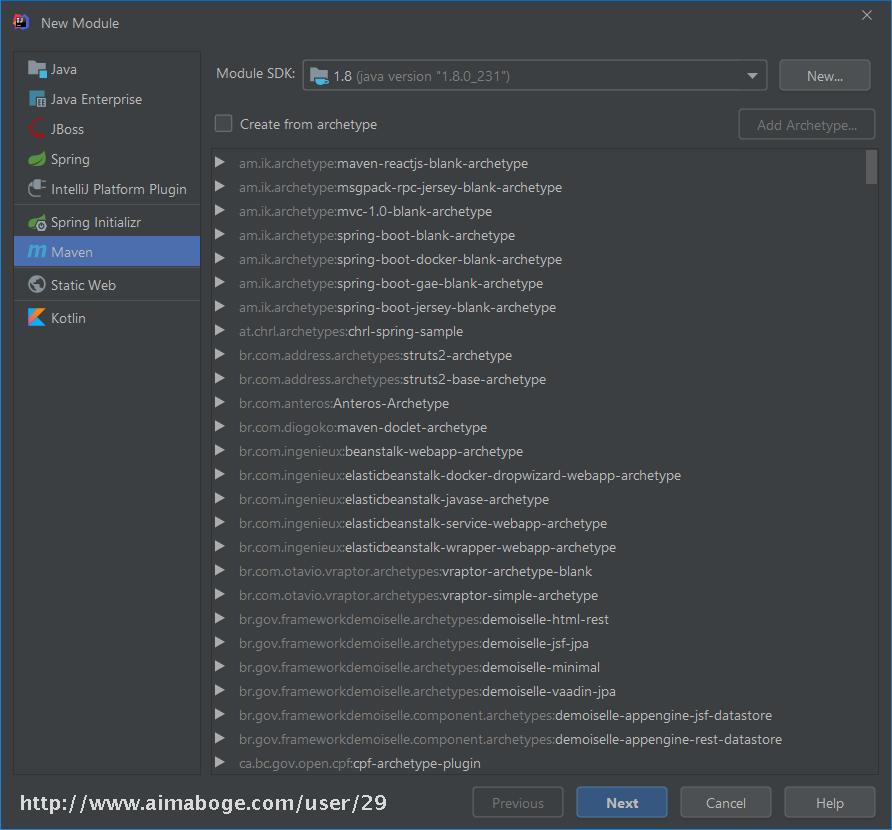
Next
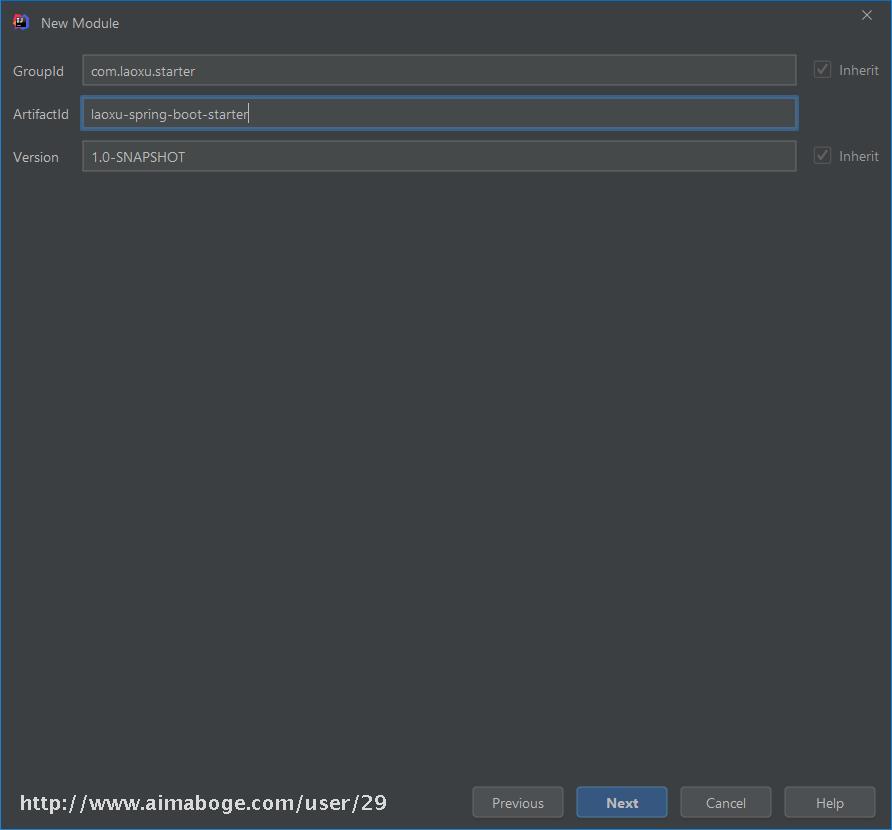
Next
3、创建spring boot自动配置模块
Ctrl + Shift + S 打开项目结构
Next
Next

4、打开自动配置模块的pom文件
复制坐标
<groupId>com.laoxu.starter</groupId>
<artifactId>laoxu-spring-boot-autoconfiguer</artifactId>
<version>0.0.1-SNAPSHOT</version>
打开自定义starter模块的pom文件
粘贴坐标到自定义starter模块的pom依赖
<?xml version="1.0" encoding="UTF-8"?>
<project xmlns="http://maven.apache.org/POM/4.0.0"
         xmlns:xsi="http://www.w3.org/2001/XMLSchema-instance"
         xsi:schemaLocation="http://maven.apache.org/POM/4.0.0 http://maven.apache.org/xsd/maven-4.0.0.xsd">
    <modelVersion>4.0.0</modelVersion>

    <groupId>com.laoxu.starter</groupId>
    <artifactId>laoxu-spring-boot-starter</artifactId>
    <version>1.0-SNAPSHOT</version>

    <dependencies>
        <dependency>
            <groupId>com.laoxu.starter</groupId>
            <artifactId>laoxu-spring-boot-autoconfiguer</artifactId>
            <version>0.0.1-SNAPSHOT</version>
        </dependency>
    </dependencies>
</project>
5、编写自定义starter业务功能
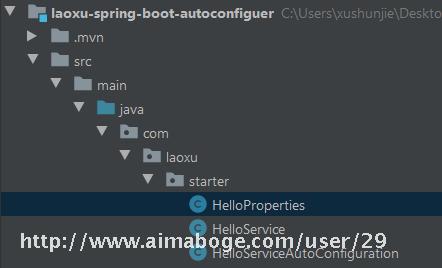
1) 自定义获取配置文件application.proeperties中的属性
package com.laoxu.starter;

import org.springframework.boot.context.properties.ConfigurationProperties;

@ConfigurationProperties(prefix = "laoxu.hello")
public class HelloProperties {

    private String prefix;
    private String suffix;

    public String getPrefix() {
        return prefix;
    }

    public void setPrefix(String prefix) {
        this.prefix = prefix;
    }

    public String getSuffix() {
        return suffix;
    }

    public void setSuffix(String suffix) {
        this.suffix = suffix;
    }
}
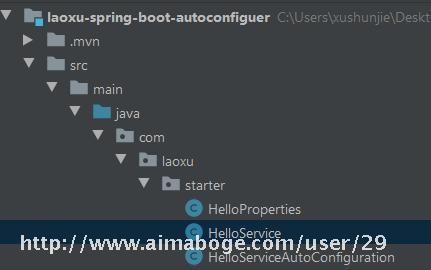
2) 自定义service
package com.laoxu.starter;

public class HelloService {

    HelloProperties helloProperties;

    public String sayHello(String name){
        return helloProperties.getPrefix() + "-" + name + "-" + helloProperties.getSuffix();
    }

    public HelloProperties getHelloProperties() {
        return helloProperties;
    }

    public void setHelloProperties(HelloProperties helloProperties) {
        this.helloProperties = helloProperties;
    }
}
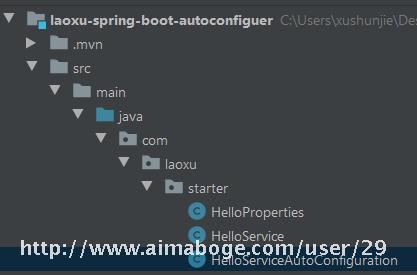
3) 配置类生效
package com.laoxu.starter;

import org.springframework.beans.factory.annotation.Autowired;
import org.springframework.boot.autoconfigure.condition.ConditionalOnWebApplication;
import org.springframework.boot.context.properties.EnableConfigurationProperties;
import org.springframework.context.annotation.Bean;
import org.springframework.context.annotation.Configuration;

@Configuration
@ConditionalOnWebApplication  //web应用生效
@EnableConfigurationProperties(HelloProperties.class)
public class HelloServiceAutoConfiguration {

    @Autowired
    private HelloProperties helloProperties;

    @Bean
    public HelloService helloService(){
        HelloService helloService = new HelloService();
        helloService.setHelloProperties(helloProperties);
        return helloService;
    }
}
6、指定生效自动配置模块
1) 创建META-INF文件夹
2) 在目录下创建spring.factories
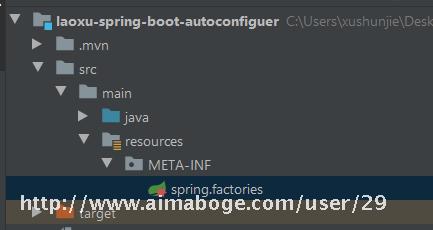
spring.factories
将自定义的自动配置加入到spring工厂
org.springframework.boot.autoconfigure.EnableAutoConfiguration=\
com.laoxu.starter.HelloServiceAutoConfiguration
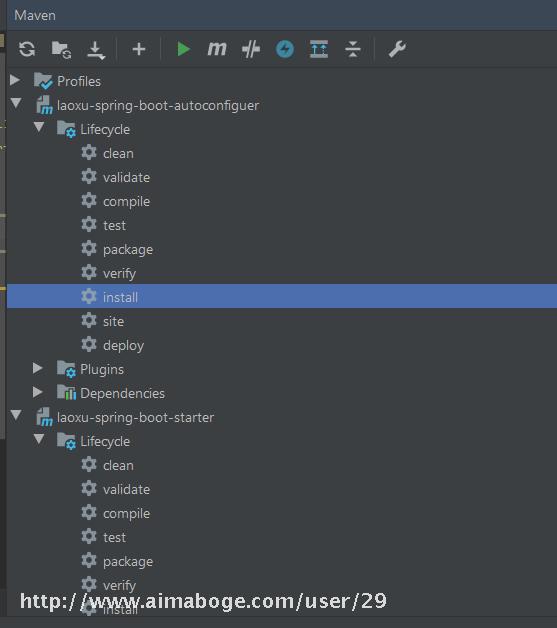
7、将自定义启动器starter安装到本地Maven库中
8、使用自定义的starter
第一步,引入starter依赖
<!-- 引入自定义starter  -->
<dependency>
    <groupId>com.laoxu.starter</groupId>
    <artifactId>laoxu-spring-boot-starter</artifactId>
    <version>1.0-SNAPSHOT</version>
</dependency>
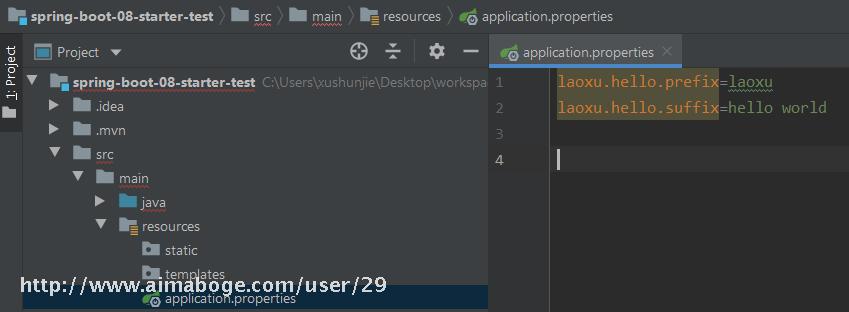
在新项目中配置自定义starter要获取的属性
编写HelloController进行测试
package com.laoxu.springboot.controller;

import com.laoxu.starter.HelloService;
import org.springframework.beans.factory.annotation.Autowired;
import org.springframework.stereotype.Controller;
import org.springframework.web.bind.annotation.GetMapping;
import org.springframework.web.bind.annotation.ResponseBody;

@Controller
public class HelloController {
    @Autowired
    private HelloService helloService;

    @GetMapping("/hello")
    @ResponseBody
    public String hello(){
        return helloService.sayHello("123");
    }
}
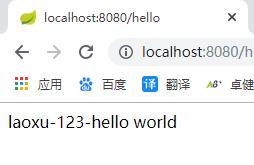
最终效果:
 恭喜注册成功,快来登录吧!